Choosing the Right Blush Stick for Your Skin Tone
Introduction to Blush Sticks
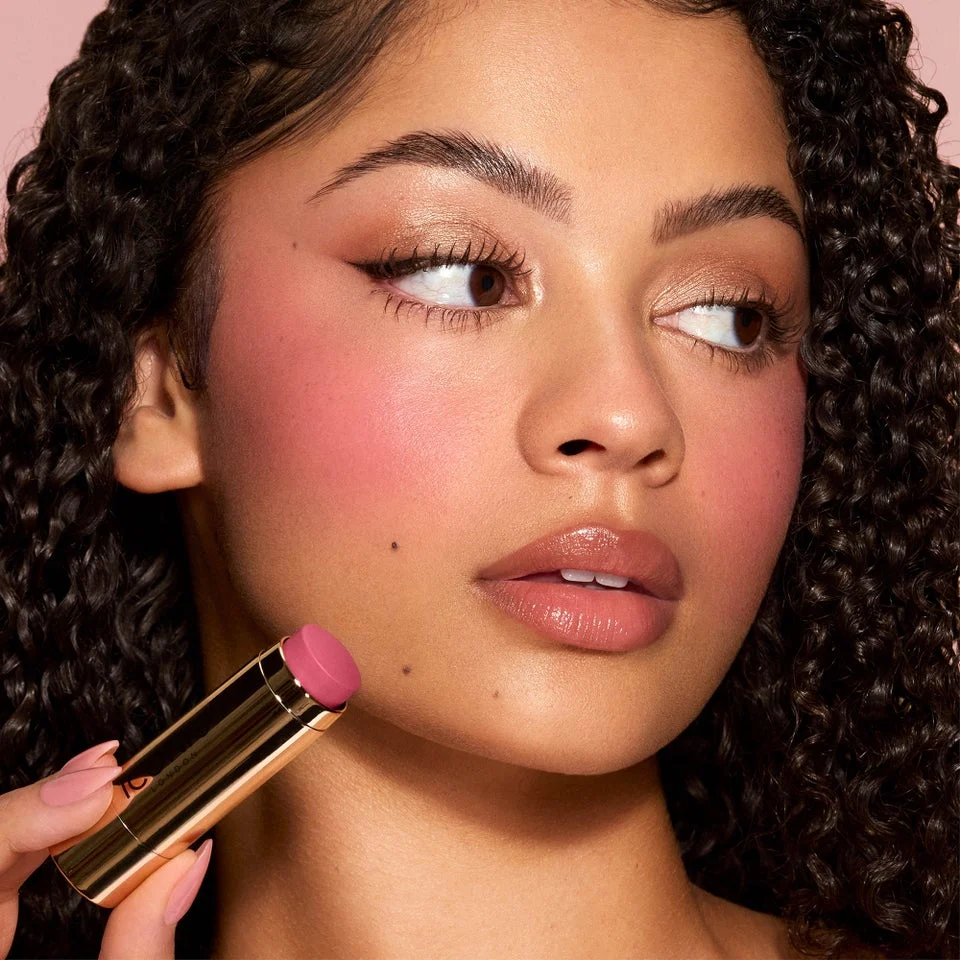
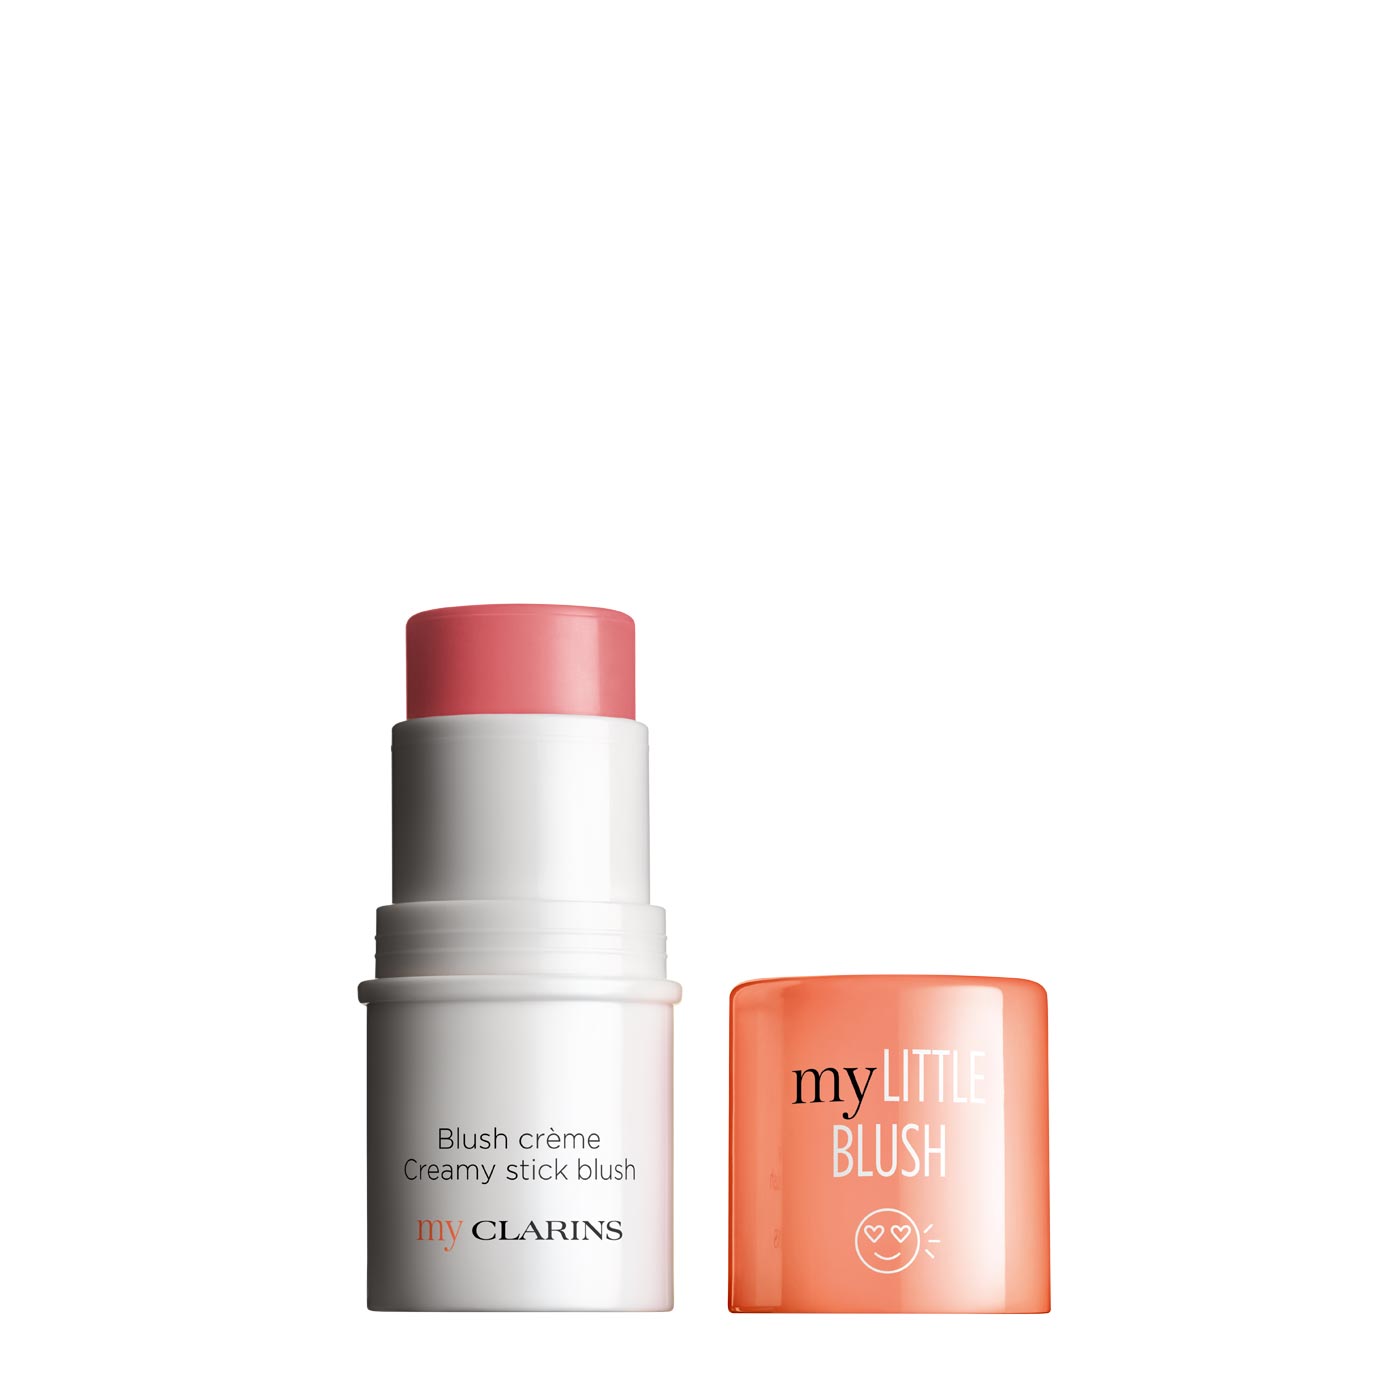
Blush sticks are revolutionizing makeup routines everywhere. These handy tools offer an easy-to-use, creamy formula that brings a natural flush to your cheeks. Unlike powdered blush, a blush stick glides on smoothly and doesn’t require a brush for application. The product’s compact size makes it a perfect fit for on-the-go touch-ups and minimalistic makeup bags.
Blush sticks come in a variety of shades to match different skin tones. With a ‘twist and apply’ simplicity, they are ideal for those seeking a quick, fuss-free application. The cream-based texture blends seamlessly into the skin, creating a fresh, dewy look. For beginners and pros alike, mastering the use of blush sticks can elevate your beauty routine with just a few strokes.
When choosing a blush stick, it’s important to consider your skin’s undertone. This will ensure that the color you pick complements your complexion perfectly. Also, looking for formulas enriched with skin-loving ingredients can enhance the health of your skin while adding a pop of color.

Choosing the Right Blush Stick for Your Skin Tone
Choosing the right blush stick shade is key to a natural-looking glow. Start by identifying your skin’s undertone. You may have a cool, warm, or neutral undertone. Cool undertones pair well with pink or rosy blush sticks. Warm undertones come alive with peach or coral shades. If you’re neutral, you have the flexibility to experiment with most colors.
Look at the veins on your wrist to help determine your undertone. Blue or purple veins suggest a cool undertone. Green veins indicate a warm undertone. If it’s hard to tell, you’re likely neutral.
Consider the lighting in which you’ll wear the blush. Natural daylight shows true colors, while artificial lighting may alter how the blush looks on your skin. Always go for a shade that mimics your natural flush after a workout or a brisk walk.
Remember to test the blush stick on your jawline, not the back of your hand. This will give you the most accurate idea of how it will look on your face. The right blush stick should blend effortlessly into your skin without looking ashy or overly bright. When in doubt, go a shade lighter than you think you need. Lighter shades are more forgiving and easier to build up than darker ones.

Preparing Your Skin for Blush Stick Application
Before you dive into applying your blush stick, prepping your skin is a crucial step. Here’s how to create the perfect canvas for a flawless application:
- Cleanse your face to remove any impurities or residual makeup. Starting with a clean surface ensures your blush stick glides on smoothly.
- Moisturize your skin to achieve a hydrated base. A well-moisturized face helps the blush stick blend more seamlessly and prevents any cakiness.
- Apply a primer if you desire a longer-lasting hold. Primer can smooth out skin texture, allowing for an even application.
- Use a light foundation or tinted moisturizer for coverage without overshadowing the natural glow of the blush stick. Remember, the blush stick should be the star of the show.

Application Techniques for a Natural Look
To achieve a natural look with a blush stick, simplicity is key. Here are some application techniques:
- Spot and Dab: Dot the blush stick gently onto your cheekbones. Start with less; you can always add more if needed.
- Smile and Apply: Smile to find the apples of your cheeks. Swipe the blush stick in a small stroke on the fullest part.
- Finger Blend: Use your fingers to softly blend the blush into your skin. The warmth of your fingers helps the product melt into a smooth finish.
- Upward Motion: Blend the blush upwards towards your temples. This lifts your features and adds to the natural effect.
- Layer if Necessary: If the initial application is too light, apply a second layer. Remember, build the color gradually to keep it looking natural.
By using these techniques, the blush stick will enhance your features without overpowering them. Pay attention to the amount you apply and blend well for the best results.
Blending Tips for a Seamless Finish
To ensure your blush stick application stands out with a flawless finish, consider these blending tips:
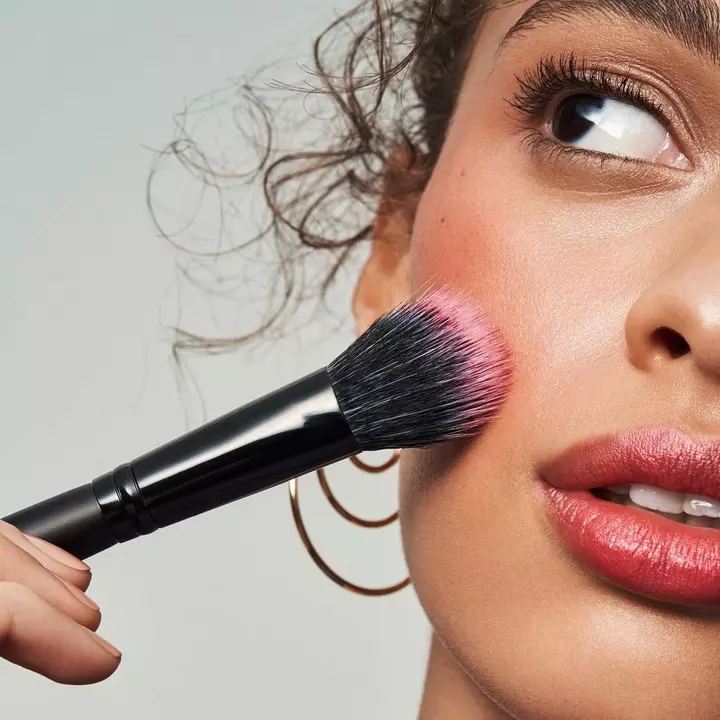
- Use the Right Tools: Your fingers are great for a quick blend, but for more precision, a blending sponge or a stippling brush can work wonders.
- Pat, Don’t Rub: Gently pat the product into your skin. Rubbing can remove the foundation beneath or create streaks.
- Blend Edges with Care: Always soften the edges. This prevents harsh lines and creates a more natural transition.
- Natural Light Check: After blending, check your makeup in natural light. It helps spot any unblended areas and ensures the color looks even.
- Keep it Light: A light hand is essential. You can easily add more blush, but removing excess is harder.
- Follow Your Face Shape: Tailor your blending technique to your face shape. This enhances your features in the most flattering way.
By following these steps, you’ll master the art of blending your blush stick to perfection, leaving you with a beautiful, seamless glow.

Common Mistakes to Avoid with Blush Sticks
To make the most of your blush stick’s potential, remember to steer clear of these common blunders:
- Choosing the Wrong Shade: Blush sticks should look natural. Picking a shade that clashes with your undertone can ruin your look.
- Skipping Skin Prep: Always cleanse and moisturize before using a blush stick. It helps with even application.
- Overapplication: Start with a small amount. It’s easier to add more than to remove excess.
- Incorrect Placement: Don’t apply too close to your nose. Blush should sit on the apples of your cheeks.
- Harsh Lines: Blend thoroughly to prevent noticeable lines, which can appear unnatural.
- Not Checking Lighting: Look in natural light to ensure your blush appears as intended.
By avoiding these mistakes, your blush stick application will enhance your beauty rather than detract from it.
How to Make Your Blush Stick Last All Day
To ensure your blush stick stays put from morning to evening, follow these durable makeup tips:
- Set with Powder: After applying the blush stick, lightly dust a translucent setting powder over it. This locks the color in place without diminishing its glow.
- Layering Technique: For extra staying power, layer your blush stick over a similar shade of cream or liquid blush. This creates a stronger pigment base.
- Avoid Touching Your Face: Keep your hands off your cheeks throughout the day. This helps your blush stick’s application remain intact.
- Use a Setting Spray: Finish with a makeup setting spray. This step seals your entire look and adds an extra barrier against smudging or fading.
- Limit Exposure to Elements: If possible, shield your face from heavy wind, rain, and direct sun. Exposure can cause your makeup to wear off sooner.
- Opt for Long-wearing Formulas: Choose a blush stick specifically designed to be long-lasting; these tend to stay on longer than standard ones.
Implement these simple yet effective strategies to maximize your blush stick’s longevity, ensuring a vibrant complexion all day long.

Transforming Your Look with Different Shades
Transform your makeup look easily with blush sticks. Using different shades can move your style from day to night, or season to season, with just a few swipes. Here are some tips to play around with colors effectively:
- Try Bold Hues: Don’t be afraid to try bold blush stick shades for a night out. They can add drama and a touch of elegance to your evening look.
- Switch with Seasons: Lighter, pastel shades work well for spring, while deep, rich tones are perfect for autumn and winter. Adjust your blush stick color to match the season.
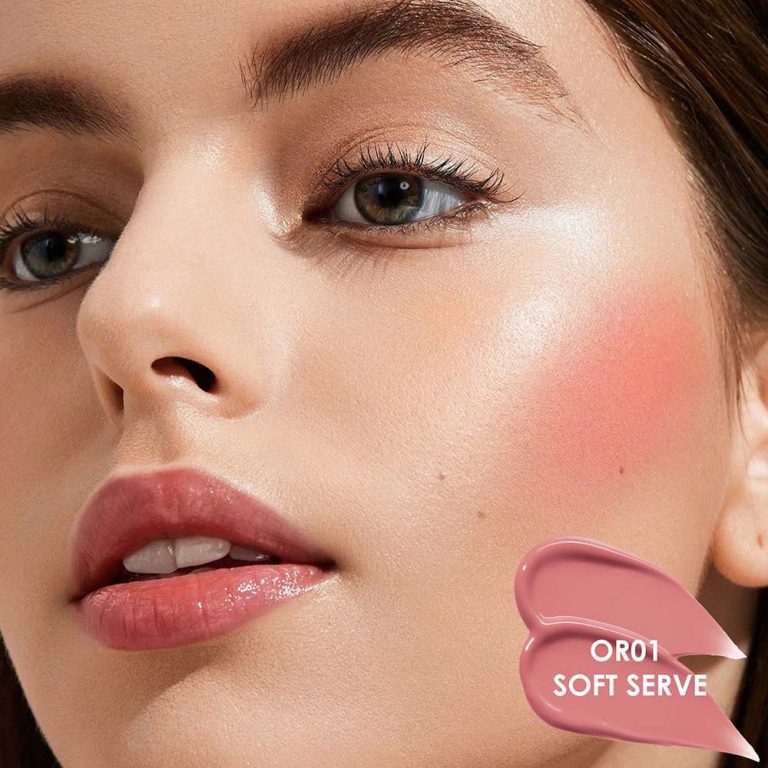
- Highlight with Shimmer: Some blush sticks come with a shimmer effect. Use these to highlight your cheekbones and add an extra glow.
- Contouring: If you’re into contouring, use a darker shade of blush stick just below your cheekbones. Blend well for defined, yet subtle contouring.
- Mix and Match: Don’t limit yourself to one color. Mix two shades for a custom look that’s uniquely yours.
Experimenting with different shades of blush stick can freshen up your look anytime. Remember to blend well and step into natural light to ensure it looks as good as it feels. Enjoy the versatility and have fun creating new looks!

