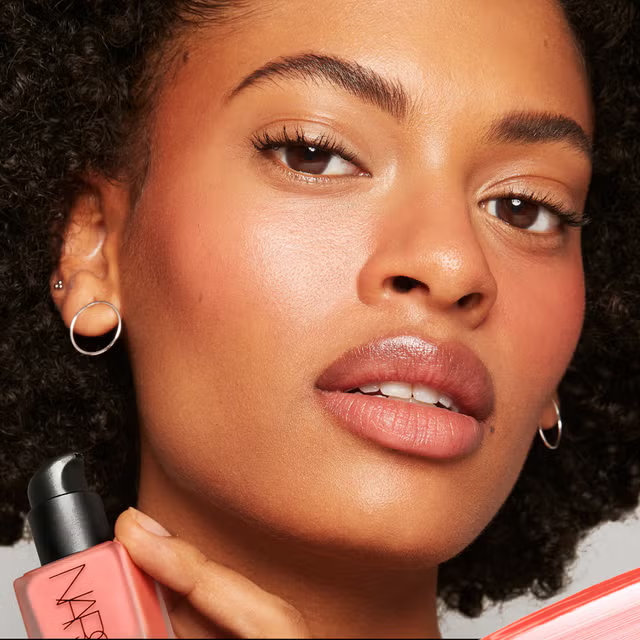
DIY Homemade Makeup Remover Recipes for Radiant Skin
Benefits of Homemade Makeup Removers
Homemade makeup remover have many advantages. They are both cost-effective and skin-friendly. Often, commercial makeup removers contain harsh chemicals. These can strip the skin of its natural oils. Homemade options, on the other hand, use natural ingredients. They are gentler on the skin. Moreover, making your own makeup remover allows you to avoid potential allergens. This is key for those with sensitive skin. Additionally, homemade removers can be customized to your skin’s needs. Whether your skin is oily, dry, or combination, you can select the appropriate ingredients.
Another perk is environmental impact. By creating your own makeup remover, you reduce plastic waste from packaging. Traditional removers often come in single-use bottles or wipes. Your homemade version can be stored in reusable containers. Finally, DIY recipes help you to maintain a more natural skincare regime. This aligns with a holistic approach to health and beauty. Making your own remover is easy and rewarding. It provides peace of mind, knowing exactly what’s touching your skin. All these benefits make homemade makeup remover a splendid choice for your nightly routine.

Essential Ingredients for DIY Makeup Removers
When crafting a homemade makeup remover, the right ingredients are key. These staples not only cleanse but also nurture the skin. Here are the essentials:
- Coconut Oil: Removes stubborn makeup while moisturizing.
- Witch Hazel: Gentle astringent properties help to tone and soothe.
- Jojoba Oil: A non-comedogenic oil that dissolves makeup without clogging pores.
- Olive Oil: Full of antioxidants, it breaks down waterproof makeup.
- Castor Oil: Cleanses deeply, good for eyelash strength.
- Almond Oil: Nourishes skin and works well for sensitive areas like the eyes.
- Cucumber Juice: Offers a cooling effect and hydrates.
Remember, quality matters. Choose organic and cold-pressed oils when possible. This ensures you get the full benefit of each ingredient. Mix and match to find a blend that feels best for your skin type. Start simple. Sometimes a single oil does the job. The beauty of homemade makeup removers is in their simplicity and adaptability.
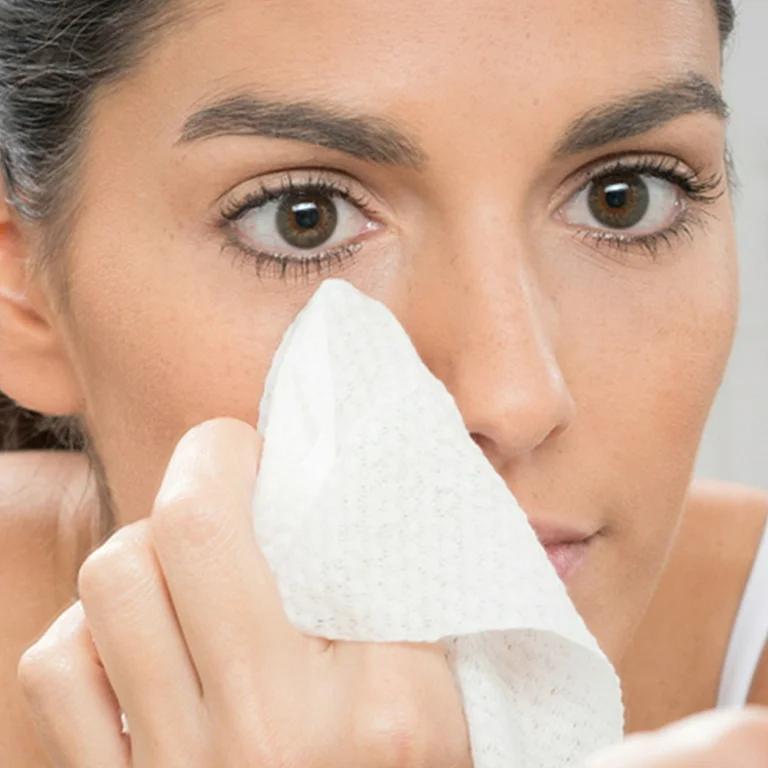
Simple Recipes for Natural Makeup Removers
Crafting your own homemade makeup remover is straightforward. Start with simple, natural recipes. These not only clear away cosmetics but also care for your skin. Here are a few recipes to try:
- Coconut and Witch Hazel Blend: Mix 2 tablespoons of coconut oil with 1 tablespoon of witch hazel. Good for quick, effective removal.
- Olive Oil Soother: Combine 1 tablespoon of olive oil with 2 tablespoons of filtered water. Perfect for sensitive skin.
- Jojoba and Almond Oil Mixture: Mix equal parts jojoba oil and almond oil. Great for nourishing the skin while cleansing.
- Cucumber Juice Cleanse: Blend cucumber juice with a splash of water. Refrigerate for a cooling, hydrating remover.
These are just the starting points. Feel free to adjust the recipes to suit your preferences. Each homemade makeup remover offers a gentle, skin-loving alternative to store-bought products. They are easy to make. Plus, by using natural ingredients, you support your skin health. Remember to shake well before each use, as natural ingredients can separate.
Tips for Using Oil-Based Removers
Oil-based removers are great for dissolving makeup. Yet, their usage can seem tricky at first. To help you make the most of these homemade makeup remover options, here are some practical tips:
- Test for Reactions: Before using an oil-based remover, perform a patch test. Apply a small amount on your arm. Wait and check for any irritation.
- Warmth Aids Removal: Warm the oil by rubbing it between your palms. This makes it easier to remove makeup.
- Use a Soft Cloth: Apply the oil with a soft cloth or cotton ball to gently wipe away makeup.
- Avoid Harsh Rubbing: Oil breaks down makeup, so there’s no need for hard rubbing. Gently massage it in and use a clean cloth to wipe off.
- Rinse Well: After removing makeup, rinse your face with warm water. This helps to remove any oily residue.
- Follow Up with a Cleanser: If you feel an oily film remains, use a gentle cleanser afterwards.
- Moisturize Afterward: Some oils leave your skin moisturized. Others may require you to apply a gentle moisturizer post-cleansing.
Remember, the key to effective use of homemade makeup removers is consistency and care. These tips should help you achieve smooth, clear skin after each use.
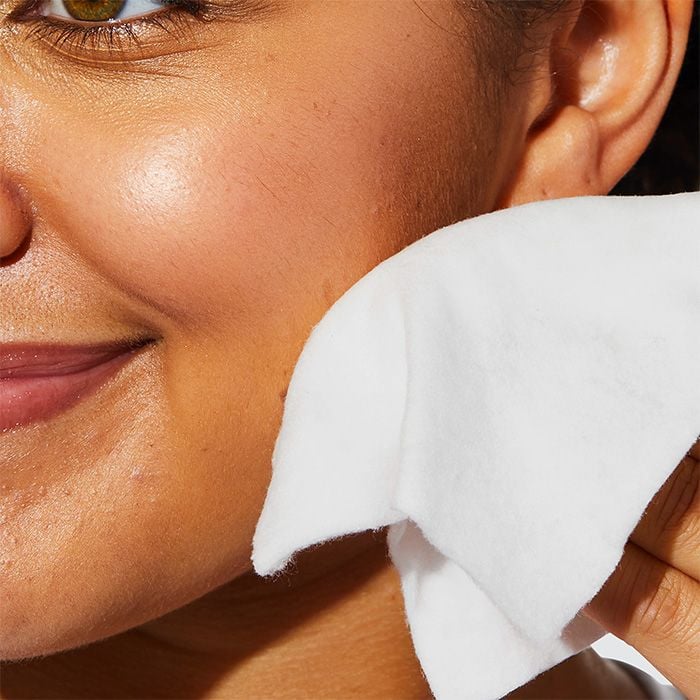
How to Create Micellar Water at Home
Micellar water is a favorite for removing makeup with ease. Make your own with these steps. Start by mixing distilled water with gentle surfactants like Polysorbate to attract dirt and oil. Add glycerin for hydration and a few drops of your preferred essential oils for scent. This homemade makeup remover is gentle on the skin and effective. Always conduct a patch test before regular use. Store it in a clean, airtight container. Use with cotton pads for best results. ?
The Role of Aloe Vera in Makeup Removal
Aloe Vera plays an important role in homemade makeup remover. This natural healer is gentle and effective for removing makeup. Aloe Vera gel has soothing properties that calm the skin. It also moisturizes while it cleans. This is perfect for those with sensitive skin. You can use Aloe Vera alone or with other ingredients.
- Soothing Agent: Aloe vera reduces irritation during makeup removal.
- Moisturizing: It helps keep skin hydrated after cleansing.
- Antioxidant Rich: Protects skin from free radicals.
- Easy to Blend: Combines well with oils for a smoother application.
To use Aloe Vera as a makeup remover, apply a small amount to a cotton ball. Gently wipe the face to remove makeup. For tougher makeup, mix Aloe Vera gel with a carrier oil like coconut or olive oil. This boosts the removal power. After cleansing, there is no need to rinse. Aloe Vera’s light texture leaves no heavy residue. It lets skin breathe and heal overnight. Always choose pure Aloe Vera gel. Avoid products with additives or alcohol. These could harm your skin. Remember to do a patch test before the first use. Make sure there is no reaction to Aloe Vera. With regular use, Aloe Vera can keep your skin clear and refreshed.
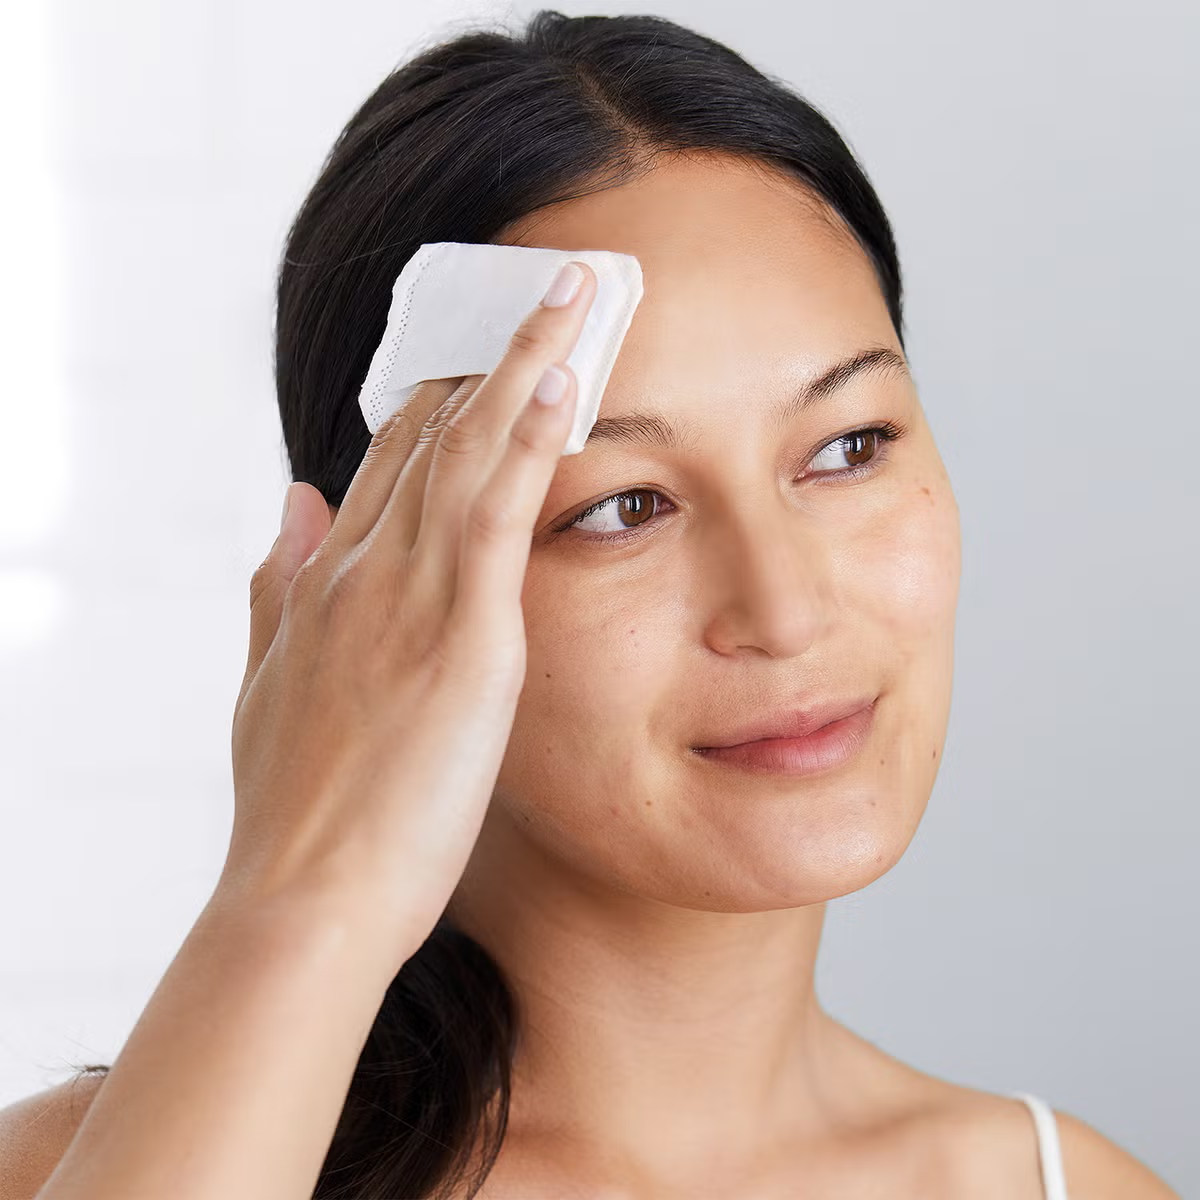
Refreshing DIY Wipes for Makeup Removal
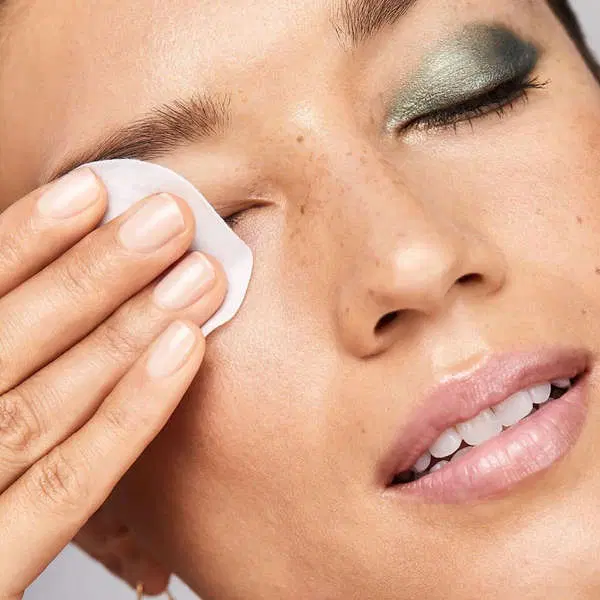
Creating your own DIY makeup remover wipes is a refreshing alternative to store-bought ones. These wipes can be a convenient and eco-friendly option for your skincare routine. Here’s how to make them.
- Choose Your Cloth: Use soft, washable cloths to avoid waste. Microfiber or cotton works well.
- Select Your Solution: Utilize the homemade makeup remover recipes mentioned earlier. Opt for oil-based recipes for waterproof makeup.
- Soak the Cloths: Immerse your cloths in your chosen makeup remover solution. Ensure they’re fully saturated.
- Store Correctly: Keep your wipes in an airtight container to maintain freshness. If using oil-based removers, choose a dark bottle to preserve the oils.
- Use and Reuse: Gently wipe your face with the soaked cloth to remove makeup. Wash and reuse the cloths to be more eco-friendly.
Homemade makeup remover wipes offer a soothing and effective way to cleanse your skin. They also align with the DIY and natural approach of this blog, providing an excellent addition to your homemade skincare products. Remember to customize the solution you soak the wipes in according to your skin’s needs for the best results.
Precautions and Skin Type Considerations
When diving into the world of homemade makeup removers, it’s vital to consider skin type and safety precautions. Here are critical points to keep in mind:
- Know Your Skin Type: Understand whether your skin is oily, dry, sensitive, or combination. This will guide you in choosing the right ingredients. For example, if you have oily skin, you might want to use a lighter oil like jojoba instead of coconut oil.
- Patch Test: Always do a patch test with a new ingredient or recipe. Apply a small amount on your neck or arm and wait 24 hours to check for reactions.
- Purity of Ingredients: Use high-quality, pure ingredients without additives that could irritate your skin. Organic and cold-pressed oils are the gold standard.
- Be Gentle: Use a light touch when removing makeup. The goal is to treat your skin with care, not to scrub it vigorously.
- Customize as Needed: What works for one person may not work for another. Feel free to adjust the recipes to better suit your skin’s reaction and needs.
- Storage and Shelf Life: Store your homemade removers properly. Keep them in airtight containers. Natural products have a shorter shelf life than commercial ones. Make small batches so they stay fresh.
- Clean Tools: Ensure that your application tools, like cloths or cotton pads, are clean each time you use them to avoid transferring bacteria to your face.
- Stay Informed: Keep up with any new findings or improvements in DIY skincare. Being up-to-date helps you make the best choices for your skin.
By keeping these considerations in mind, your foray into homemade makeup remover can be both successful and safe. Tailor the approach to match your unique skin, and don’t hesitate to consult a dermatologist if you have concerns or persistent issues.

