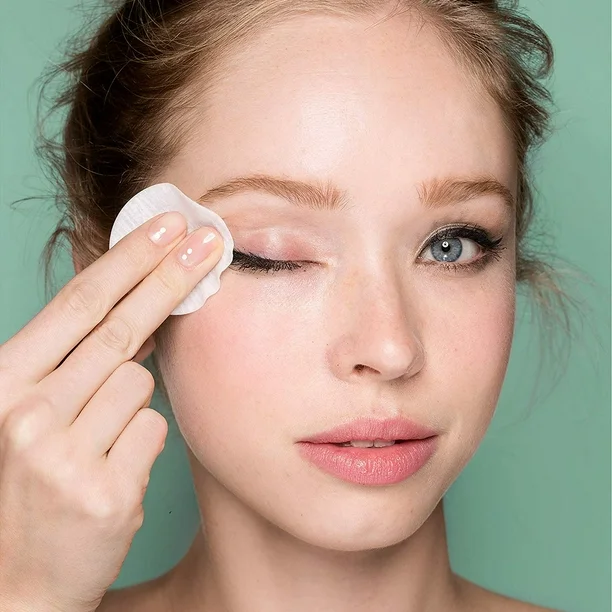
Effortless Oil Makeup Remover Tips: Step-by-Step Guide
The Basics of Oil Makeup Removal
Oil makeup removers efficiently dissolve even the toughest waterproof makeup. Unlike typical makeup removers, oil interacts with the oils in makeup, facilitating easy removal. It’s suitable for everyone, regardless of skin type. Here’s what you need to know about the basics of oil makeup remover:
- Nature of Oil Removers: Oil attracts oil, which means oil-based removers effectively lift grease, sunscreen, and makeup from the skin.
- Application Method: Apply the oil makeup remover directly to dry skin. Massage gently to break down makeup. Use a warm, damp washcloth to wipe off the oil and any makeup residue.
- Types of Oils: You can use various oils like coconut, olive, or specially formulated cleansing oils depending on your skin type and preferences.
- Benefits: This method avoids harsh chemicals, and many find it nourishes and hydrates their skin more effectively than traditional cleansers.
Understanding these basics will guide you in choosing the right oil and applying it effectively to remove makeup. Each oil has unique properties beneficial for different skin types, which we will explore in the following sections.
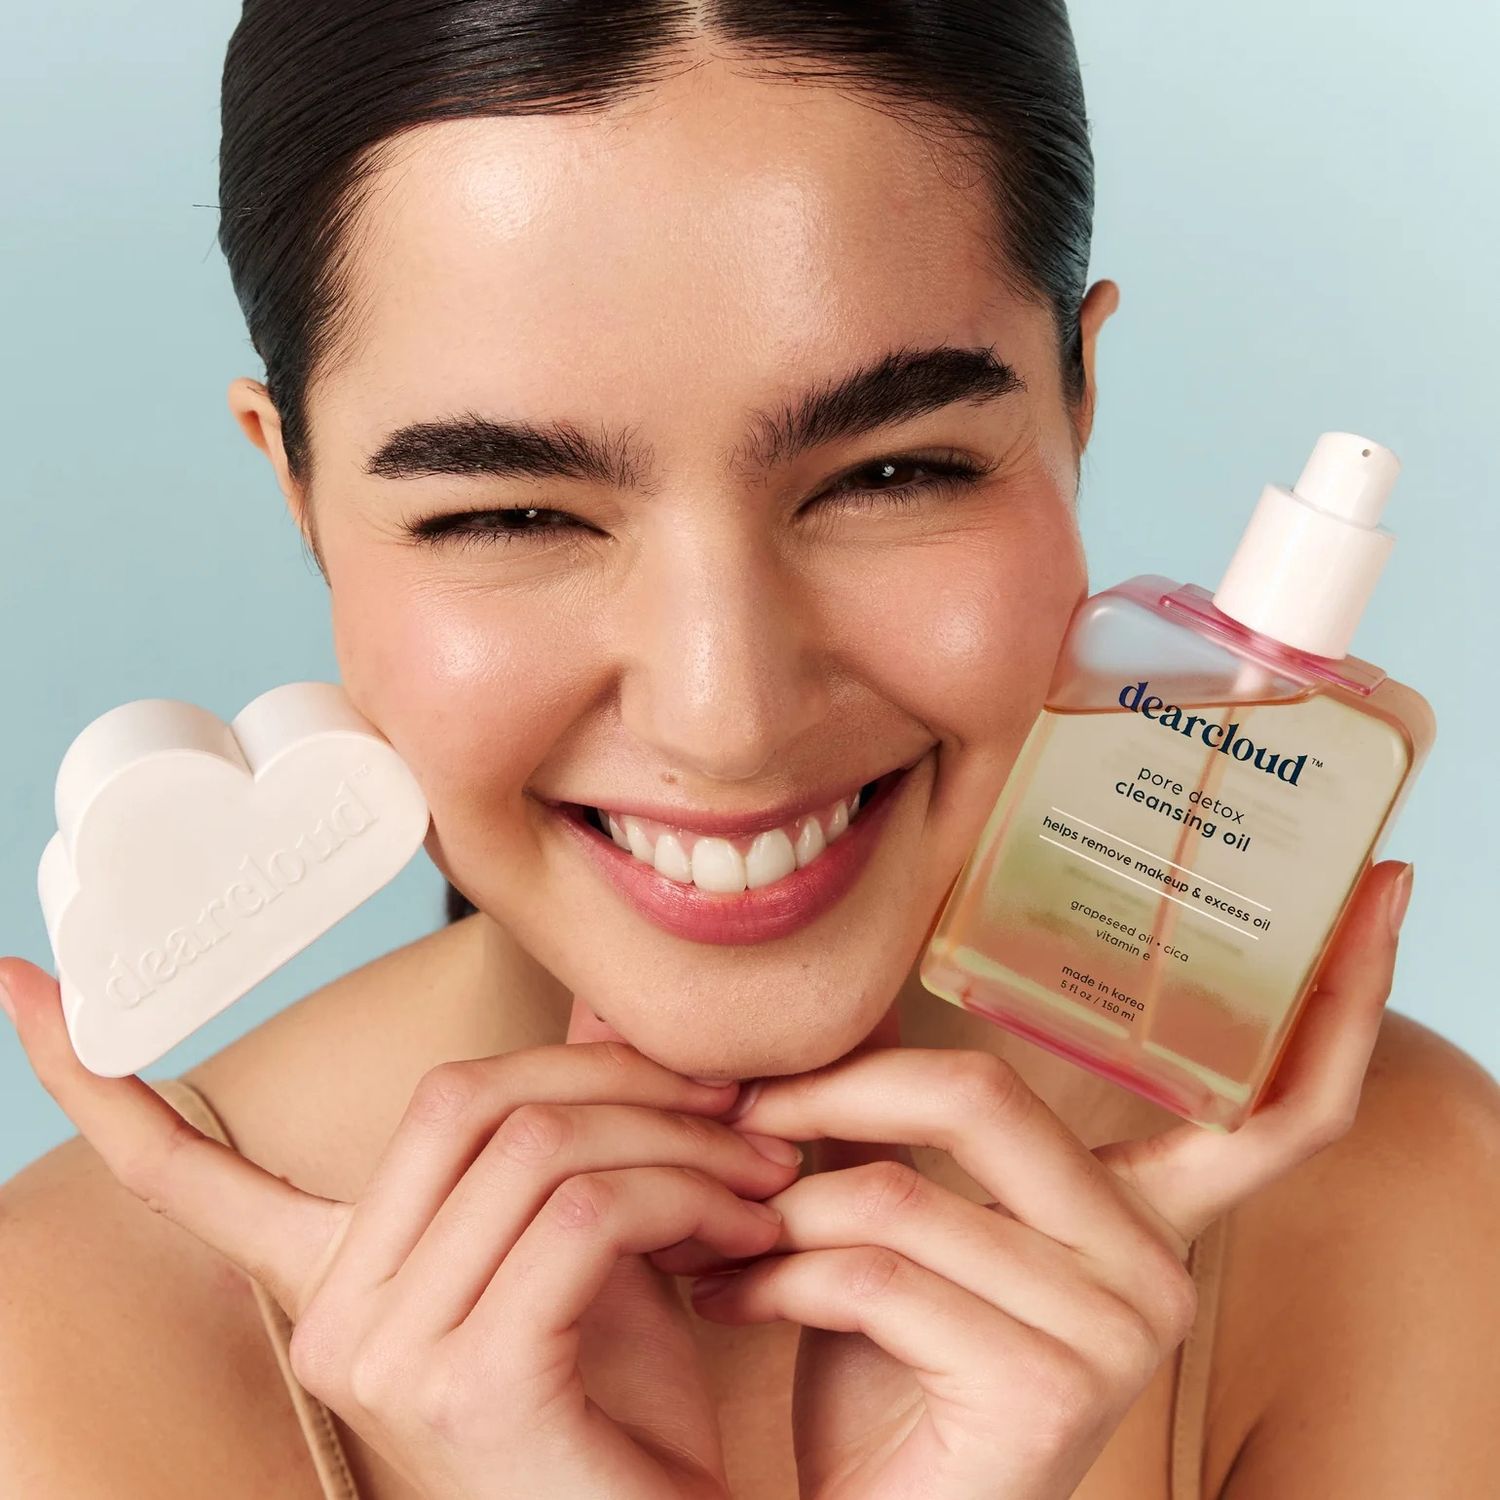
Choosing the Right Oil for Your Skin Type
Choosing the correct oil makeup remover for your skin type is crucial. Different oils cater to various skin concerns and types, enhancing the effectiveness of your cleansing routine without irritating your skin. Here’s how to identify the best match:
- For Oily Skin: If you have oily skin, lighter oils like grapeseed or jojoba can be ideal. These oils help to balance the natural oils of your skin without adding excess oil.
- For Dry Skin: For those with dry skin, richer oils such as olive oil or almond oil can provide much-needed hydration. These oils also help to smooth and soften your skin as they cleanse.
- For Sensitive Skin: For sensitive skin types, it’s best to choose soothing oils like chamomile or calendula infused oils. These oils are gentle and can help reduce inflammation while removing makeup.
- For Acne-Prone Skin: If acne is a concern, consider using oils with antibacterial properties like tea tree oil. This will help in not only removing makeup but also in calming acne breakouts.
- Combination Skin: For those with combination skin, a blend of oils might work best. You could mix a lighter oil, such as safflower, with a bit of a heavier oil, like coconut oil, to get balanced effects.
Understanding your skin type helps in making an informed decision regarding which oil makeup remover will suit you best. Thus ensuring your skin reaps the maximum benefits while staying clear and healthy.

Step-by-Step Guide to Using Oil Makeup Removers
Using an oil makeup remover is a simple process that can transform your skin care routine. Here’s a step-by-step guide to effectively use oil makeup removers:
- Start with Dry Hands and Face: Make sure your face and hands are dry before beginning. Water can interfere with the oil’s ability to break down makeup.
- Apply Oil Generously: Pour a small amount of oil makeup remover into your palm. Use your fingers to spread it evenly over your face.
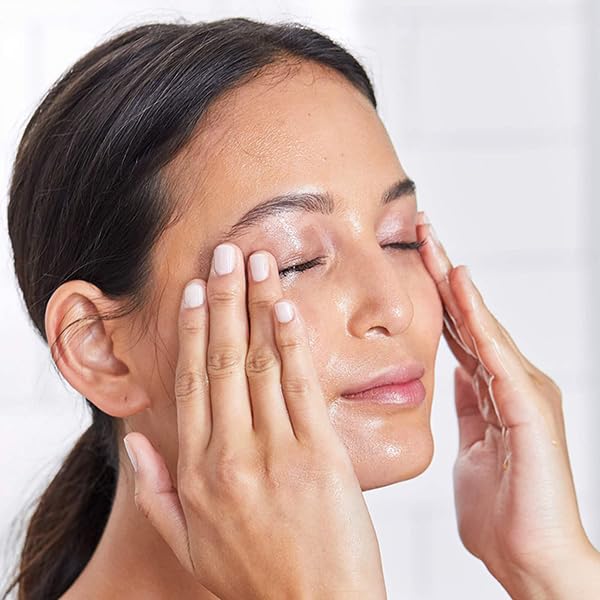
- Massage Gently: With gentle circular motions, massage the oil into your skin. Focus on areas with heavy makeup to ensure thorough cleansing.
- Add Warmth: After massaging, soak a clean washcloth in warm water. Wring out the excess water and place the warm cloth on your face. The heat helps to open pores and release the makeup.
- Wipe Off: Use the warm washcloth to gently wipe away the oil and makeup. You may need to rinse the cloth and repeat for complete removal.
- Final Rinse (Optional): For those who prefer, you can do a final rinse with lukewarm water to remove any lingering residue.
- Pat Dry: Gently pat your skin dry with a soft towel, without rubbing, to avoid irritation.
Following these steps will ensure that you effectively remove makeup while nourishing your skin with the benefits of your chosen oil makeup remover.
Benefits of Oil Cleansing Method for Skin Health
The oil cleansing method packs numerous benefits for maintaining skin health. Here are the key advantages:
- Deep Cleansing: Oils can dissolve makeup and impurities deeply entrenched in the pores. This leaves the skin clean from the inside out.
- Hydration: Oil cleansers provide a surge of moisture to the skin. Regular use helps to maintain a balanced and hydrated complexion.
- Gentler on Skin: Unlike harsh chemical cleansers, oil makeup removers are gentle. They do not strip the skin of its natural oils.
- Reduction in Breakouts: Proper use of oil cleansers can help to reduce acne by regulating oil production and removing pore-clogging residues.
- Soothing Effect: Many oils have anti-inflammatory properties. This can calm irritated skin and reduce redness.
- Radiant Skin: Oils often contain antioxidants and vitamins. Applying these through cleansing can lead to a more radiant and youthful skin appearance.
- Suits Sensitive Skin: The oil cleansing method is often suitable for those with sensitive skin since it’s free from irritants found in traditional cleansers.
Incorporating an oil makeup remover into your skin care routine could unlock these benefits and enhance your skin’s overall health. For best results, select an oil suited to your skin type and follow the right application technique as outlined in earlier sections.
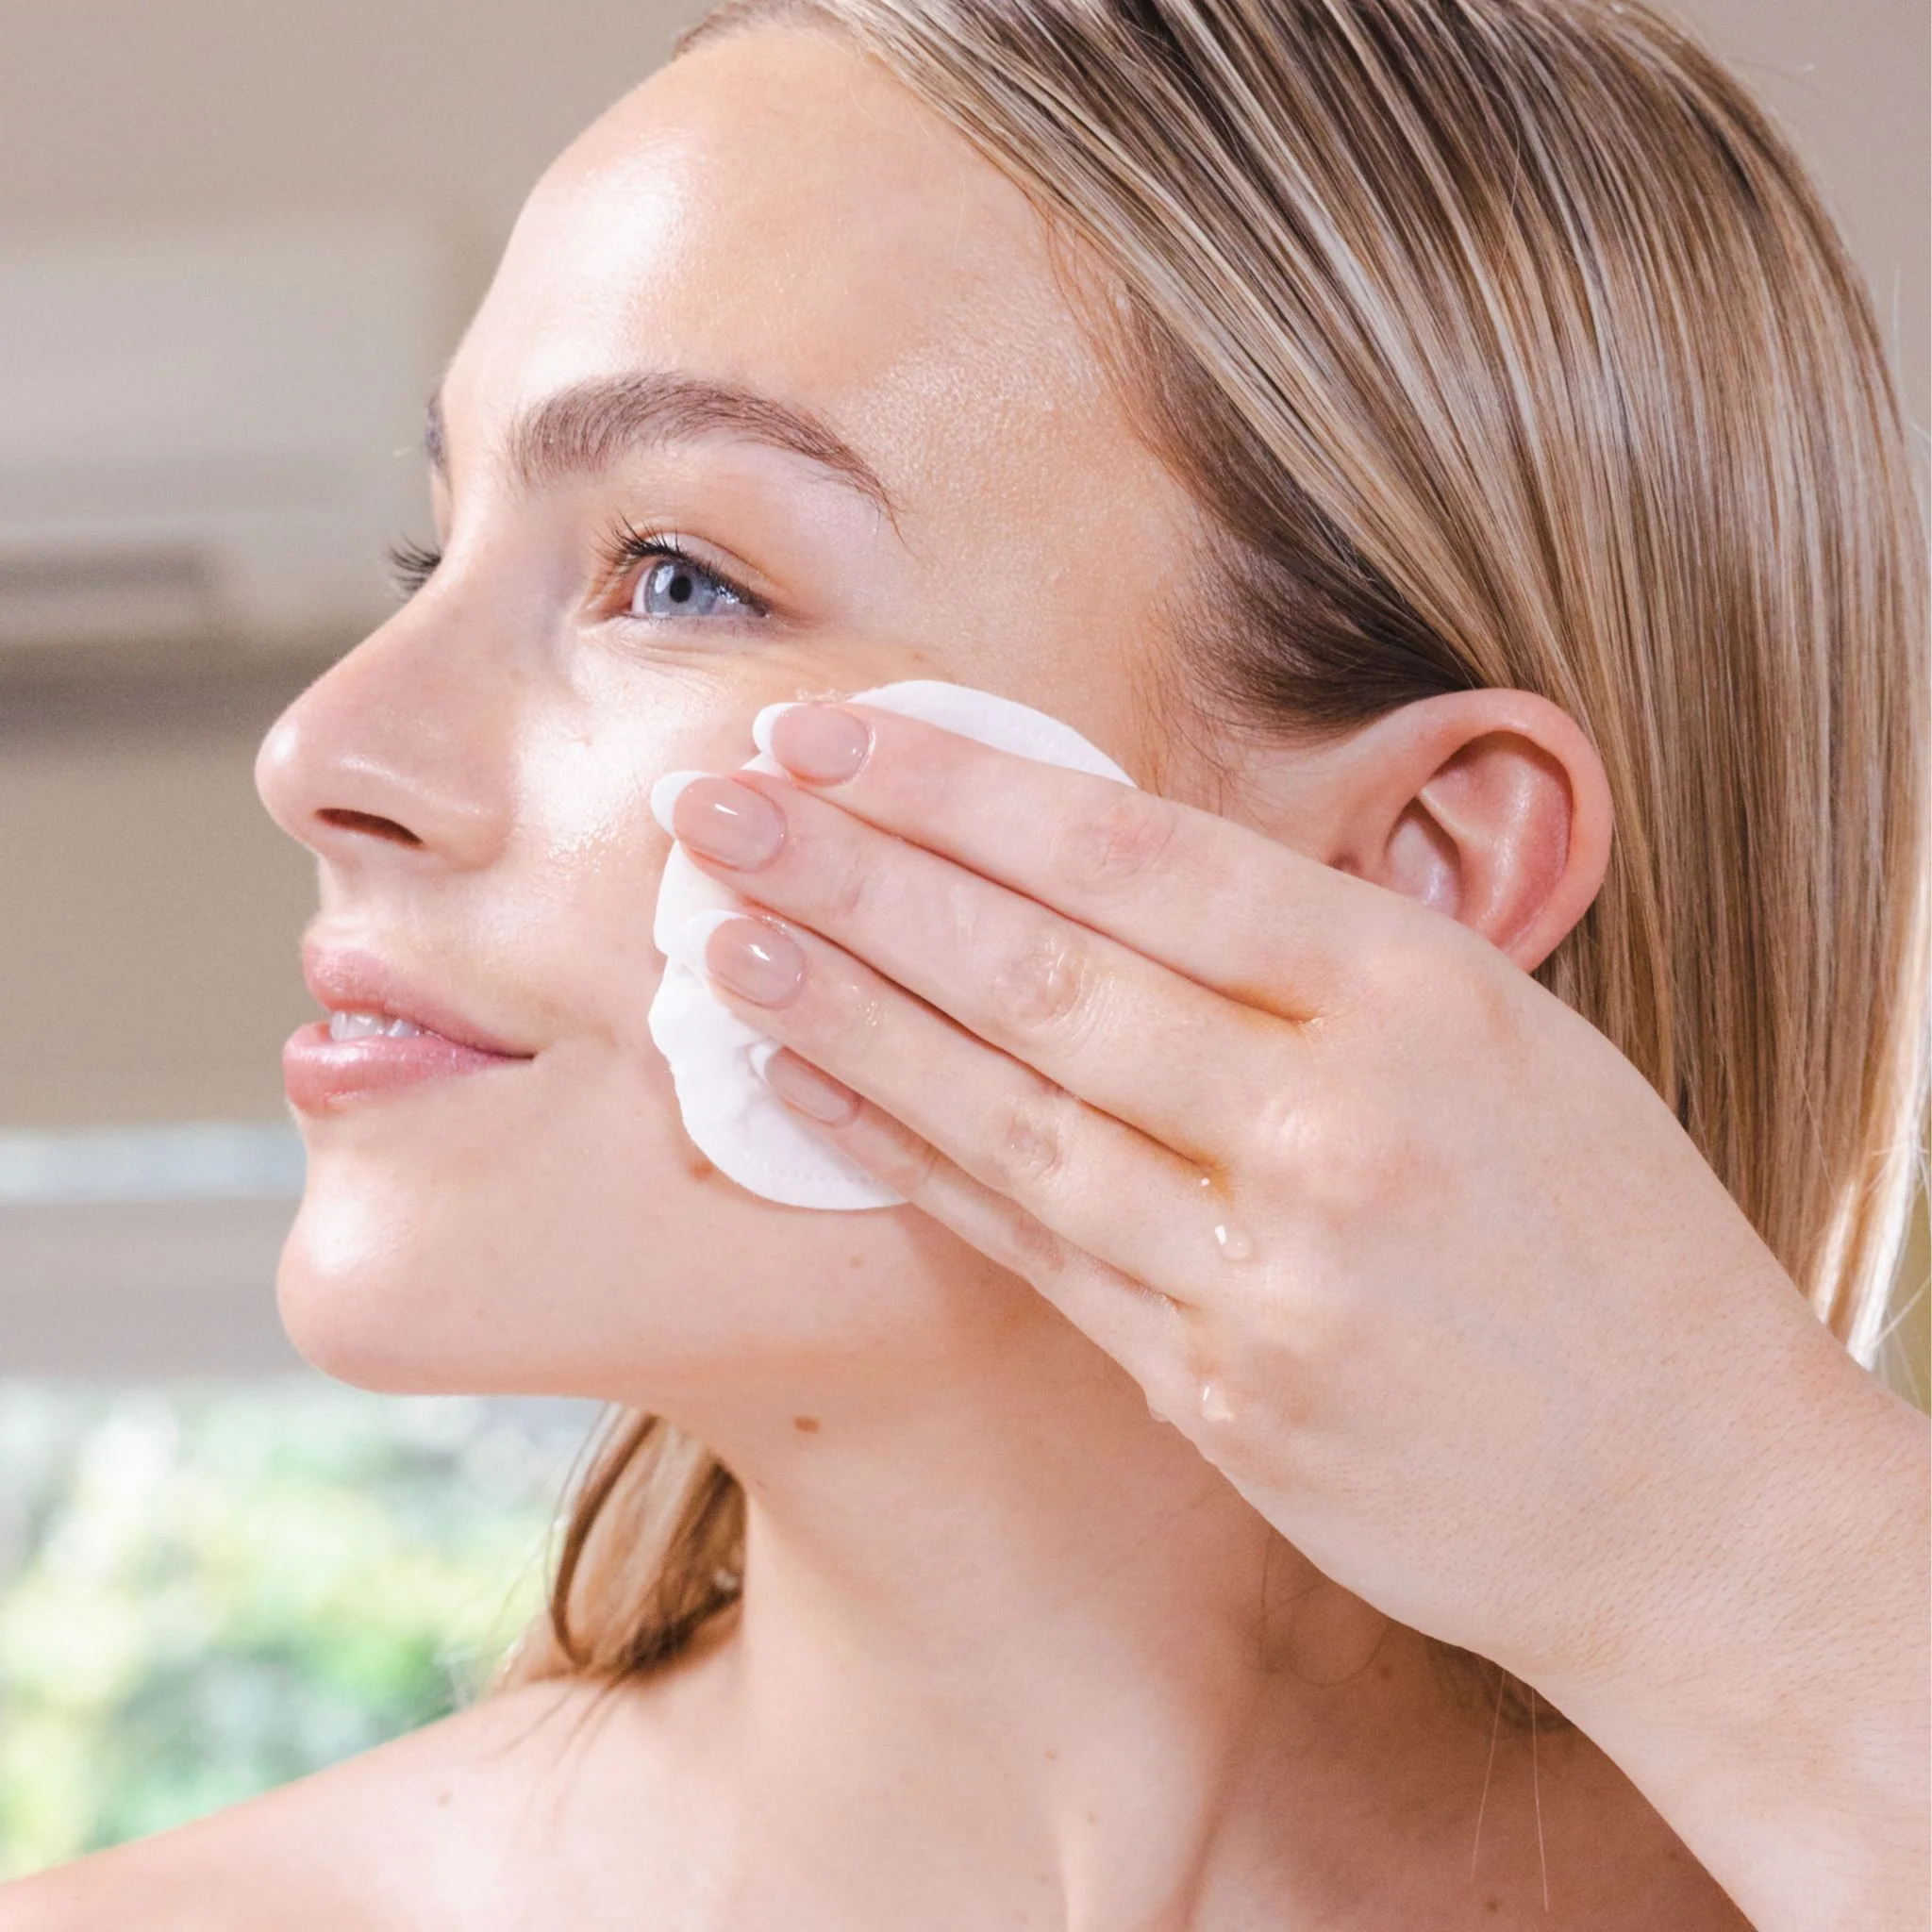
Common Mistakes to Avoid with Oil Makeup Removers
When using oil makeup removers, it’s important to be mindful of common pitfalls that can hinder their effectiveness or even harm your skin. Here are some frequent mistakes to sidestep:
- Using Too Little Oil: Some may use just a few drops, but you need enough oil to fully dissolve makeup.
- Skipping the Massage: A gentle massage ensures the oil makeup remover penetrates and lifts impurities effectively.
- Rinsing with Cold Water: Cold water can’t emulsify the oil as well as warm water, making it harder to remove makeup.
- Rubbing the Skin Harshly: This can cause irritation. Always wipe off the oil gently, without pulling or tugging at the skin.
- Not Patch Testing: Always test a new oil on a small skin area first to check for adverse reactions.
- Over-Cleansing: Overusing oil makeup removers can strip the skin of its natural oils, leading to dryness.
- Forgetting to Moisturize: After cleansing, always apply a moisturizer to lock in hydration.
- Using the Wrong Oil: Not all oils are suitable for all skin types. Make sure to select the right oil makeup remover for your skin as discussed earlier in this blog.
By avoiding these common mistakes, you will improve your oil cleansing method to keep your skin healthy and glowing.
DIY Oil Makeup Remover Recipes
Creating your own oil makeup remover at home is a cost-effective and natural alternative to store-bought options. Here are some simple recipes to try, each tailored to different skin types:
- Coconut Oil Makeup Remover: Ideal for dry skin. Mix one part coconut oil with one part almond oil. This blend is nourishing and hydrating.
- Jojoba Oil Makeup Remover: Great for oily and acne-prone skin. Combine jojoba oil with a few drops of tea tree oil for its antibacterial properties.
- Olive Oil Makeup Remover: Suitable for all skin types, especially sensitive skin. Use pure olive oil or mix it with aloe vera for extra soothing effects.
- Argan Oil Makeup Remover: Perfect for aging skin. Argan oil is rich in antioxidants. Mix it with vitamin E oil to enhance skin repair.
To use these DIY oil makeup removers, apply them using the same method mentioned in the step-by-step guide. Always perform a patch test before fully incorporating them into your skincare routine to prevent any allergic reactions.
Comparing Oil Makeup Removers with Traditional Cleansers
When exploring different types of makeup removers, it’s essential to understand how oil makeup removers stack up against traditional options. Traditional cleansers often come in forms like wipes, micellar water, and gel-based solutions. Here are some key distinctions:
- Ingredients: Traditional cleansers might contain alcohol or surfactants that can strip the skin’s natural oils. In contrast, oil makeup removers utilize natural oils that bond with makeup, allowing for gentle removal without disrupting skin balance.
- Effectiveness: Oil removers are highly effective at dissolving waterproof and long-wear makeup which traditional cleansers sometimes struggle to remove completely.
- Suitability for Skin Types: Oil removers can be customized for any skin type by choosing the right kind of oil, while traditional cleansers are often more generic.
- Skincare Benefits: Besides cleaning, oil makeup removers offer additional benefits like hydration and nourishment due to their natural oil content. Traditional cleansers often focus solely on cleansing without added skin health benefits.
- Environmental Impact: Some traditional cleansers require disposable wipes, contributing to waste. Oil removers are generally used with reusable cloths, making them a more eco-friendly choice.
Considering these factors, the choice between oil makeup removers and traditional cleansers depends on your specific skin needs and environmental preferences. Oil makeup removers provide a gentle, effective, and skin-friendly alternative to conventional options.
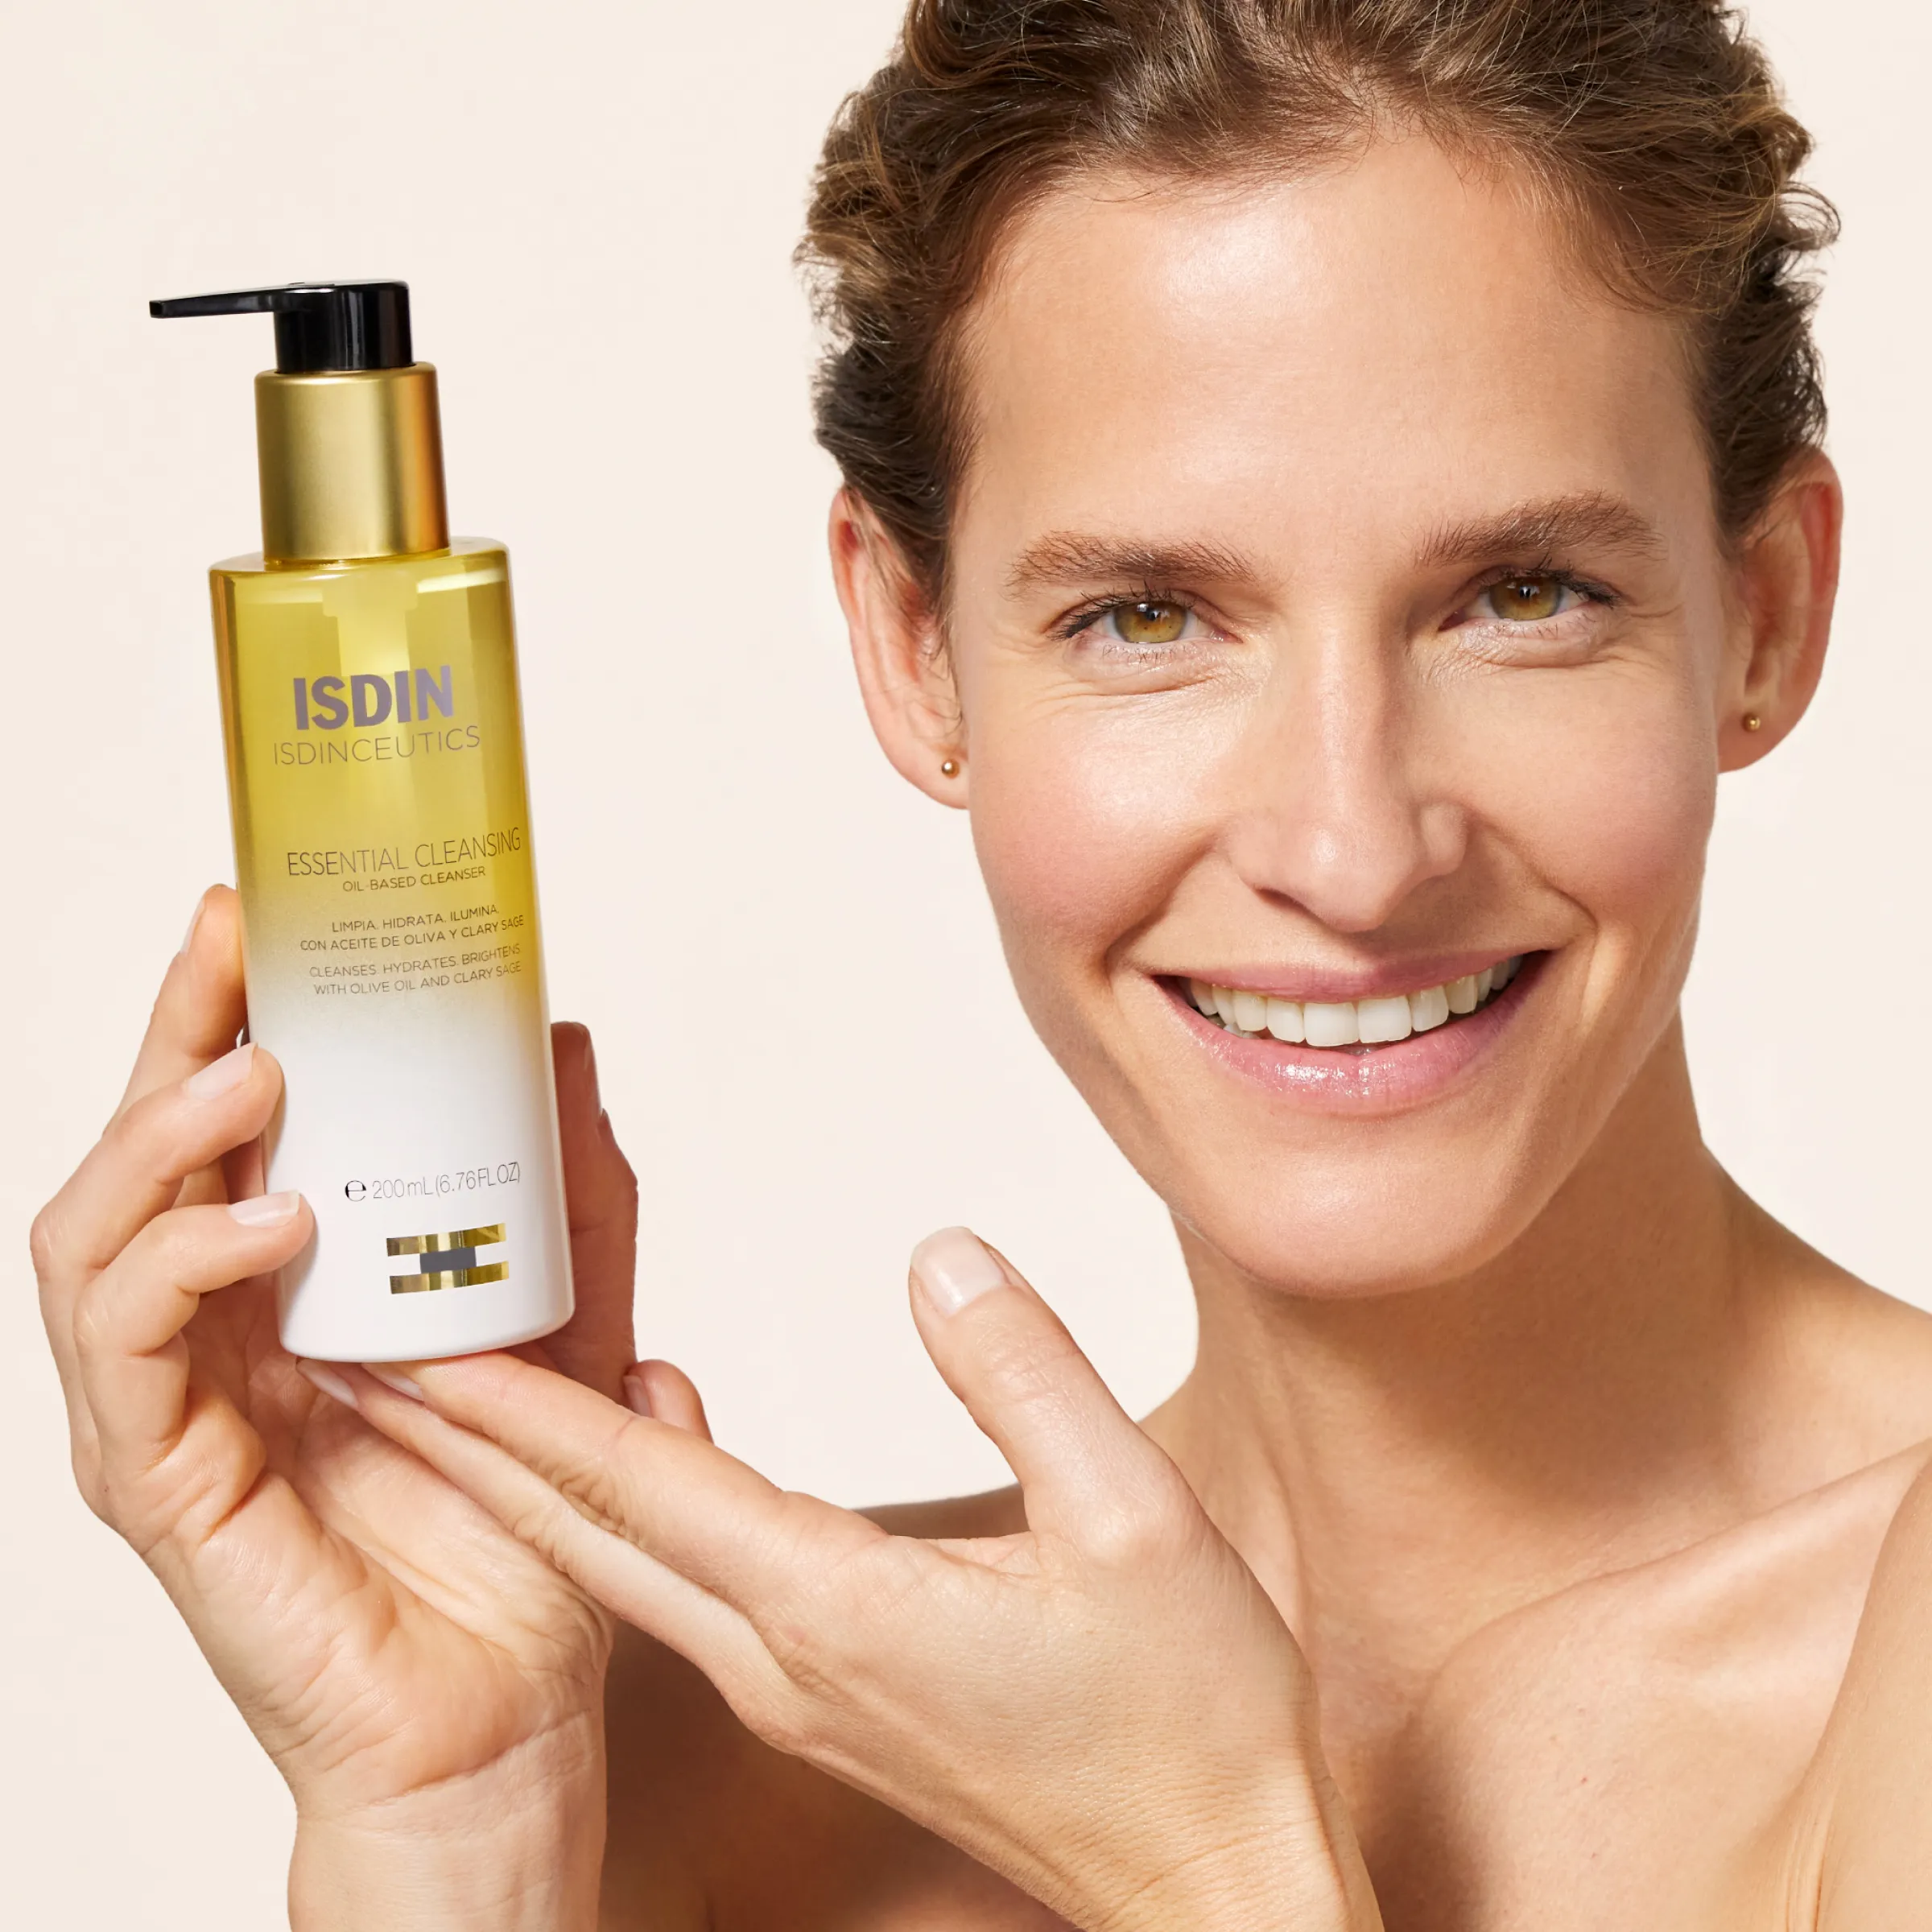
Tips for Incorporating Oil Cleansing in Your Nightly Routine
Incorporating oil cleansing into your nightly routine can enhance your skin’s health and beauty. Here are some tips to integrate this method seamlessly:
- Set a Routine: Make oil cleansing a part of your nightly ritual. Cleanse before bedtime to remove the day’s buildup.
- Warm Environment: Perform your routine in a warm environment to help open pores. This can assist in more effective makeup removal.
- Relaxing Massage: Take your time and gently massage the oil makeup remover into your skin. Enjoy this moment to unwind from your day.
- Consistency is Key: Consistency leads to results. Try to use your oil makeup remover nightly for the best outcomes.
- Customize Your Blend: Adjust your oil blend seasonally or as your skin needs change. You may need a richer oil in winter, for example.
- Combine With Other Steps: After oil cleansing, follow up with a toner or serum. This ensures any remaining oil residue is gone and your skin is prepped for the next products.
- No Rush: Give the oil enough time to break down makeup. Don’t hurry through the process.
- Use a Retinol: For those not sensitive to retinol, applying it after oil cleansing can enhance your skincare regimen. It’s most effective on clean skin.
- Stay Gentle: Always pat your skin dry gently after cleansing. Avoid any harsh rubbing.
- Listen to Your Skin: If your skin reacts or feels uncomfortable, reassess the oils you’re using.
By following these tips, you can make oil cleansing an effective and pleasurable part of your nightly skincare routine. Not only will your skin be clean, but it will also be nourished and ready for a restful night.
