Blush Placement Guide for a Natural Glow Importance in Makeup
Introduction to Blush and Its Importance in Makeup
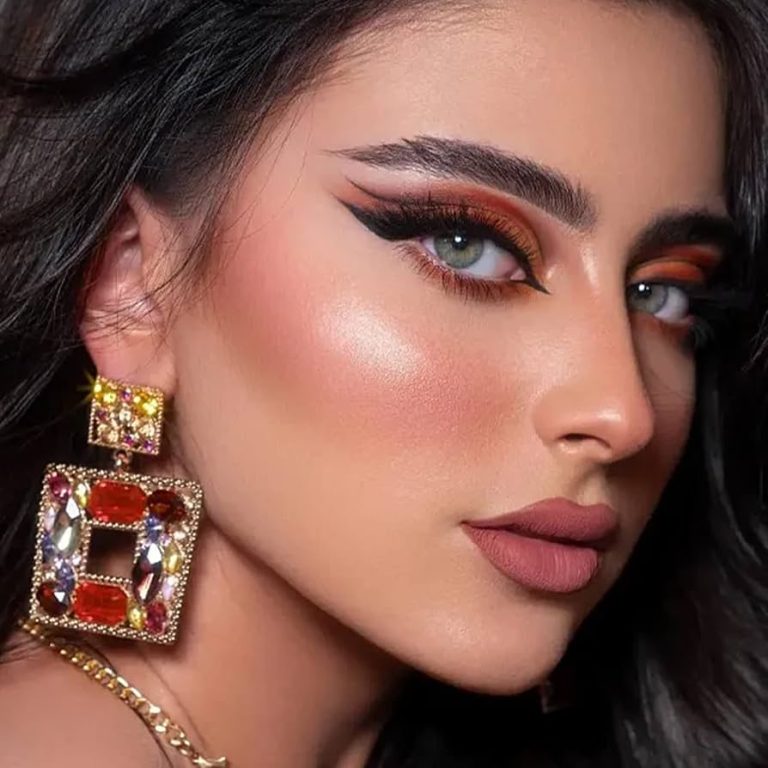
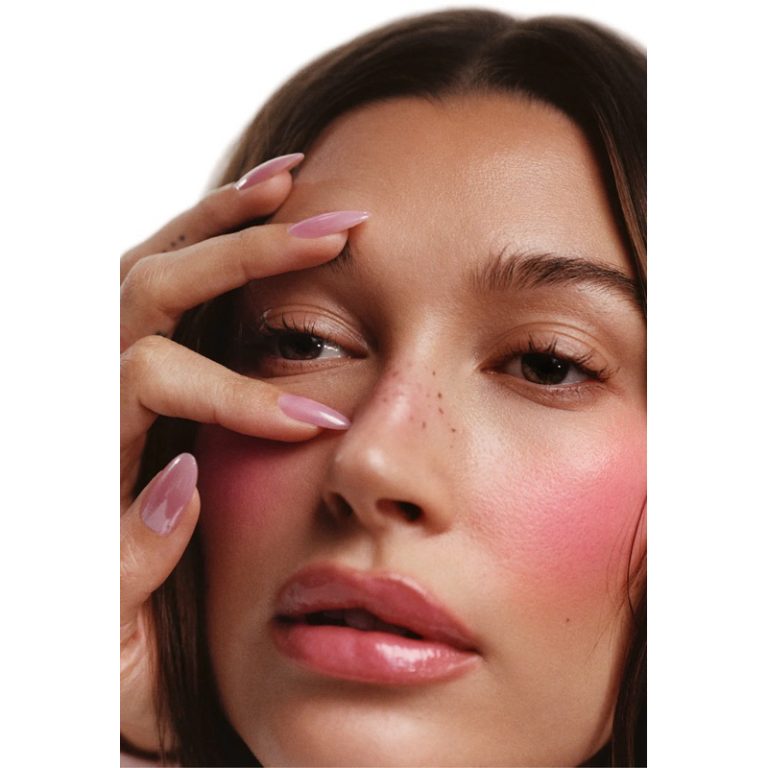
Blush is more than just color for your cheeks. It’s a vital part of makeup that brings warmth and vitality to your face. The right blush placement can lift your features and give your complexion a healthy, radiant look. Think of it as the finishing touch that can make or break your makeup look. Blush helps to create a more defined face structure and can even affect how others perceive your mood and health.
When applied correctly, blush has the power to enhance your natural beauty without looking overdone. It’s the subtle hint of color that can tie your whole makeup together. So, understanding how to use blush effectively is key for anyone who wants to master their makeup routine. By following this guide, you’ll learn how to select, place, and blend blush for that perfect, natural glow.
Exploring Different Types of Blush
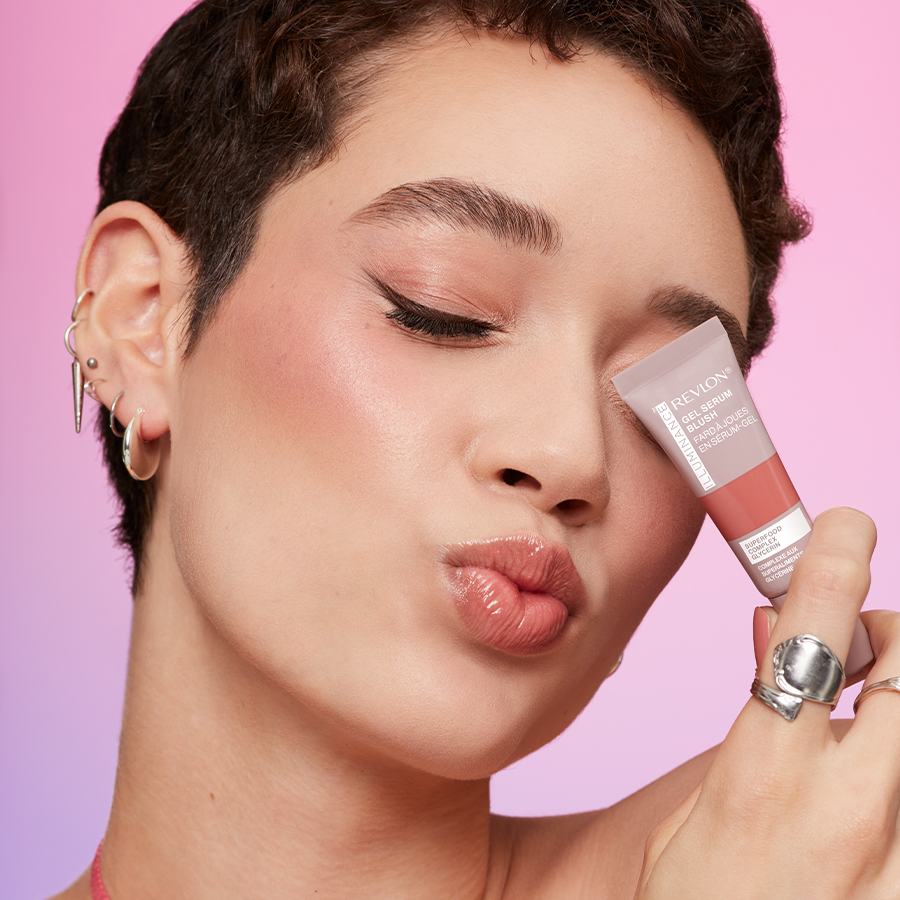
Blush comes in various forms, each with its unique qualities. Powder blush is popular for its ease of use and good for oily skin. Cream blush delivers a dewy finish, ideal for dry skin types. Liquid blush offers a natural look and can be blended seamlessly for a sheer effect. Gel and tint blushes are lightweight, giving a long-lasting stain that mimics a natural flush. Stick blushes are portable and convenient, perfect for on-the-go touch-ups. Each type of blush has its own method of application and preferred tools, such as brushes for powders and fingers for creams.
Choosing the right form of blush can enhance your makeup routine and give you that natural glow. Remember to consider your skin type and the desired finish when selecting a blush. This will help you achieve the best possible result with your blush placement. By experimenting with different types, you’ll discover the one that complements your makeup style the most.
Finding the Right Shade for Your Skin Tone
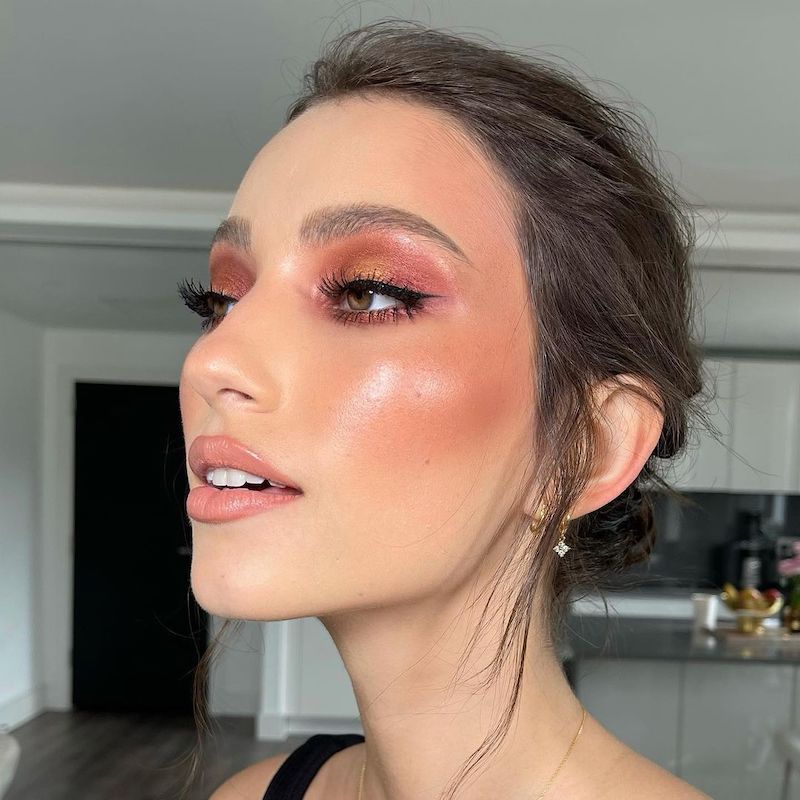
Choosing the right shade of blush is crucial for a natural-looking glow. Your skin tone determines the color that will best enhance your complexion. Here are some guidelines:
- Fair Skin: Opt for light pink, peach, or coral shades. They bring out a soft warmth without overpowering your features.
- Medium Skin: Rose and mauve tones work well. They provide a hint of color that looks like a natural flush.
- Olive Skin: Try rich pinks, warm mauves, or deep peach shades. These complement the natural green undertones of olive skin.
- Dark Skin: Bold hues like deep fuchsia, warm tangerine, or rich berry are striking. They give a vibrant pop of color that looks stunning against darker complexions.
When selecting a blush shade, swatch them on the inside of your wrist. This area mimics your cheek’s skin more closely than the back of your hand. Test the blush in natural light to see how it truly looks on your skin. Remember, the goal is to find a shade that looks like your cheeks after a light workout or a brisk walk – naturally flushed and lively. Keep in mind that blush placement can also enhance your natural skin tone when done right. By following these tips, you’re on your way to picking the perfect blush color for a healthy and radiant glow.
Blush Placement Techniques for Different Face Shapes
The way you apply blush can make a huge impact depending on your face shape. Each shape has ideal placement techniques that accentuate your best features while adding a healthy glow. Below, I’ll walk you through how to tailor blush placement for various face shapes.
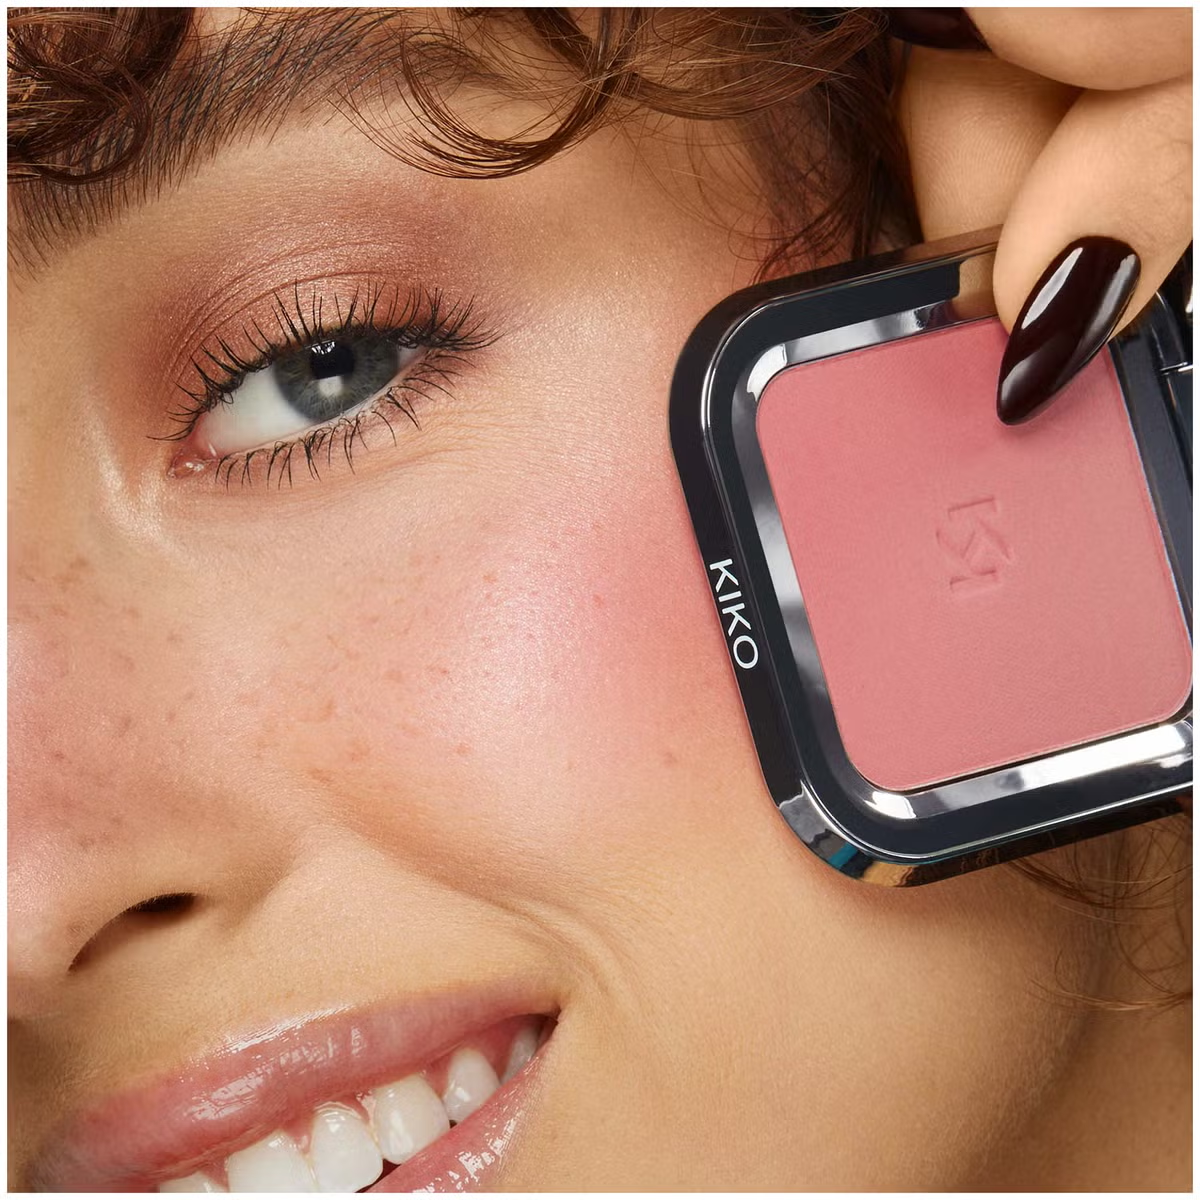
- Oval Face: People with oval faces should aim to apply blush on the cheekbones, sweeping it lightly upwards towards the temples. This approach emphasizes the natural contours of the face and maintains its balanced shape.
- Round Face: For those with round faces, applying blush slightly higher on the cheeks can create a more elongated effect. Focus on the area above the apples of your cheeks and blend towards the ears to create subtle definition.
- Square Face: Square-faced individuals can soften their angular features by applying blush in a circular motion onto the cheekbones. Avoid angular application as it can make the face look sharper. Blending the edges out towards the hairline is key.
- Heart Face: If you have a heart-shaped face, place the blush on the outer corner of the cheeks and blend inwards. This technique helps to balance the wider forehead with the narrow chin, giving the illusion of a softer jawline.
- Long Face: Apply blush across the apples of the cheeks and blend out to the sides rather than upwards. This placement breaks up the length and adds a sense of width to the face.
Remember, the ‘less is more’ principle is vital. Start with a small amount of blush and build up as needed. Use light strokes for blending, ensuring no harsh lines are visible. To achieve that natural glow, it’s essential to harmonize your blush placement with your unique face shape.
Application Tips for a Seamless Blend
Achieving a seamless blend with your blush is crucial for a natural-looking finish. Here are some key application tips:
- Use the Right Tools: Select a brush that’s fluffy and has a rounded shape. This helps with even distribution.
- Start with Less: You can always add more blush if needed. Begin with a light touch.
- Smile and Find the Apples: While smiling, apply blush to the apples of your cheeks. This marks the spot for a natural placement.
- Blend, Blend, Blend: Use a clean brush or your fingers to soften any harsh edges. Seamless blending is essential.
- Follow the Cheekbone: Gently sweep the blush along your cheekbones. Align it with the natural line for the best effect.
- Add Layers if Necessary: If you want more intensity, build the color with additional light layers.
- Check in Different Lights: View your makeup in various lighting conditions to ensure it looks consistent.
- Use a Setting Powder: If you’ve used a cream or liquid blush, lightly dust a setting powder over it to keep it in place.
By following these steps, your blush will meld perfectly with your skin, avoiding any stark contrasts. The goal is a soft, radiant glow that enhances your features subtly.
Mistakes to Avoid with Blush Application
When applying blush, common mistakes can hinder you from achieving that perfect glow. To help you look your best, avoid these common blush application errors:
- Applying Too Much: Start with a light hand. Too much blush can overpower your face.
- Wrong Shade: A blush that’s too light or too dark can look unnatural. Match it to your skin tone.
- Ignoring Your Face Shape: Blush placement should enhance your face shape. Don’t apply it in a one-size-fits-all manner.
- Harsh Lines: Ensure to blend your blush well. Visible lines can detract from a natural look.
- Using The Wrong Brush: Use a fluffy, rounded brush for a soft and even application.
- Blush Placement Too Low: This can drag your features down. Keep blush above the nose line.
- Forgetting To Tap Off Excess: Always tap the brush to remove excess powder before applying.
- Not Checking Lighting: Different lighting can affect how your blush looks. Always check in natural light.
Steer clear of these mistakes, and you’ll be on track to a natural, radiant finish with your blush placement.
Recommendations for Best Blush Products
Selecting the best blush products can elevate your makeup routine to new heights. Here are some top recommendations that cater to various preferences and skin types:
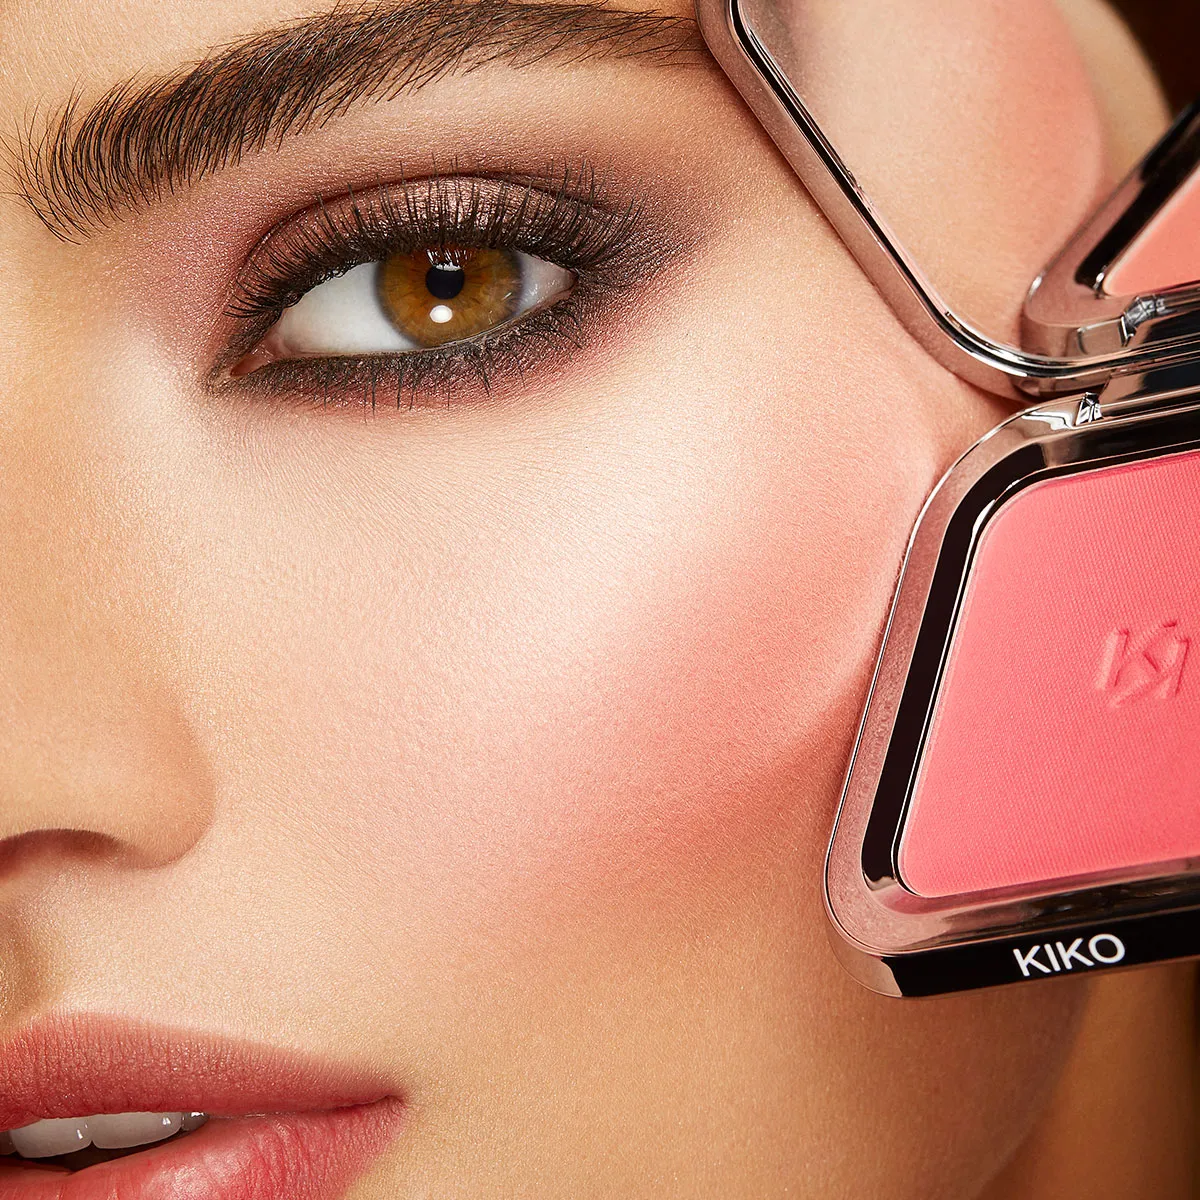
- For Powder Blush Lovers: Look for finely-milled formulas that blend seamlessly. Popular choices include NARS Blush for its wide range of shades and Tarte Amazonian Clay 12-Hour Blush for long-lasting wear.
- Cream Blush Enthusiasts: A creamy texture that melts into the skin is ideal. Glossier Cloud Paint has received acclaim for its buildable color and Stila Convertible Color offers dual use for lips and cheeks.
- Liquid and Gel Aficionados: These blushes promise a dewy finish. Benefit Benetint is a classic gel blush that’s easy to blend, and Maybelline Cheek Heat provides a budget-friendly liquid option.
- Stick Blush Fans: For on-the-go application, stick blushes are perfect. Clinique Chubby Stick Cheek Colour Balm offers a smooth glide and Milk Makeup’s Lip + Cheek delivers a sheer, layerable color.
Remember, no matter the type of blush, it’s how you use it that counts. The right shade and placement tailored to your features will guarantee that natural, healthy flush. By integrating these recommendations into your makeup arsenal, you’re well on your way to perfecting your blush technique.
Final Thoughts on Perfecting Your Blush Technique
As we wrap up this blush placement guide, let’s remember some key takeaways for that flawless glow. First, consider your skin type and face shape; this will guide you in choosing the right blush form and method of application. Whether you prefer powder, cream, liquid, gel, or stick blush, the aim is to complement your natural beauty.
Next, finding the shade that suits your skin tone can’t be overstated. It’s the difference between looking overly made-up and having that ‘just right’ natural flush. Always test the blush under natural light and look for a color that mimics a natural, healthy complexion.
When applying, use the correct tools and techniques to blend seamlessly into your skin. Build up the color gradually to avoid applying too much. It’s essential to work with what you have – enhance your features rather than changing them.
Lastly, avoid common mistakes like harsh lines, wrong shade choices, and incorrect placement. Keep practicing with these tips in mind, and soon you’ll have mastered the art of the perfect blush application. The final result should be a soft, radiant look that feels like you at your best. Happy blushing!
