Perfect Natural Blush Techniques for a for Your Skin Tone
Contents
hide
The Importance of Choosing the Right Blush for Your Skin Tone
Choosing the right blush is vital for a natural look. The perfect shade enhances your skin’s natural glow. Wrong shades can make your skin look dull or overly dramatic. Here’s what you need to know:
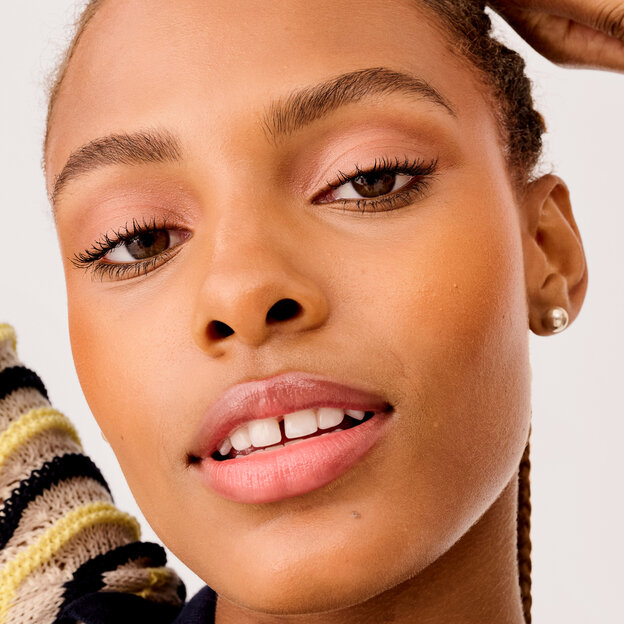
- Identify Your Undertone: Your skin’s undertone is the base that affects its overall hue. Cool undertones look best with pink-based blushes. Those with warm undertones should opt for peach or coral shades.
- Consider Your Skin Color: Lighter skin tones can use pale pinks for a subtle flush. Medium skin tones can experiment with deeper pinks and mauves. Darker skin tones are complemented by tangerine or rich berry shades.
- Test the Blush Before Buying: Swipe the blush on the back of your hand. Does it look natural and blend well with your skin? If it stands out too much, it might not be the one.
- Natural Light Check: Always check the blush in natural light. What looks good indoors under artificial lighting may not look the same outside.
- Seasonal Adjustments: Be open to changing your blush with the seasons. In summer, you might prefer a brighter or more sun-kissed color. In winter, a more muted shade might work better for your paler skin tone.
Remember, the right blush can mimic a natural blush and enhance your complexion beautifully. Take your time in making the right choice. From fair to deep skin tones, there’s a perfect natural blush for everyone.
Blush Application Tools: Brush Selection and Techniques
Choosing the right tool is key for applying natural blush. Here are the essentials:
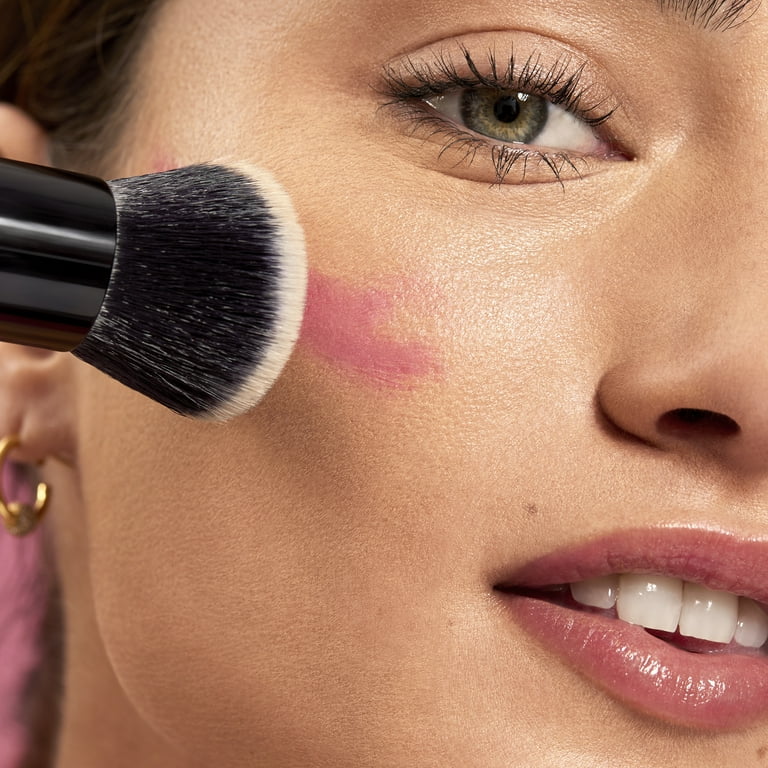
- Select the Right Brush Type: Use a fluffy, angled brush for powder blushes. This shape helps to define your cheekbones. For cream blushes, a stippling brush works best. It allows for easy blending and a more controlled application.
- Brush Quality Matters: Soft, high-quality bristles pick up the right amount of product. They also allow for smooth application without irritating the skin.
- Use the Right Technique: Sweep blush on the cheeks with light strokes. Start from the apple of your cheeks and blend towards the hairline. Blend upwards for a lifting effect. For creams, dab gently and blend with the brush or fingers.
- Clean Your Tools: Keep brushes clean to prevent bacteria build-up. Cleanse them with a mild soap or brush cleaner weekly.
By paying attention to the type and quality of brushes and applying the right techniques, you can ensure a more natural and flawless blush application.

Step-by-Step Guide to Applying Natural Blush
Creating a natural-looking blush starts with a simple, step-by-step approach. Here’s how you can achieve a radiant, flushed look with ease:
- Prep Your Skin: Begin with a clean, moisturized face. This helps the blush to go on smoothly and last longer.
- Apply Foundation: If you use foundation, apply it before the blush. This creates an even canvas for the blush to blend into.
- Find the Right Shade: Choose a blush that complements your skin tone, as previously discussed.
- Smile and Locate the Apples: Smile to find the apples of your cheeks. This is where you’ll start your application.
- Use the Right Tools: Use a fluffy, angled brush for powder blush or a stippling brush for cream formulas.
- Apply Moderately: Pick up a small amount of blush on your brush. Too much can overwhelm your face.
- Sweep Gently: Gently sweep the blush over the apples of your cheeks, blending outward and upward toward the hairline.
- Blend, Blend, Blend: Use circular motions to blend the blush into your skin for a seamless finish.
- Adjust the Intensity: Build up the color slowly. Add light layers until you reach the desired intensity.
- Set the Look: If needed, lightly dust setting powder over your cheeks to ensure the blush stays put.
- Check Your Work: Give your face a final look in the mirror to make sure everything is well-blended and looks natural.
By following these steps, you can apply natural blush in a way that enhances your features and looks effortlessly beautiful.
Powder vs. Cream Blush: Which Formulation Works Best for a Natural Look?
When considering a natural blush look, choosing the right formulation is critical. Powder and cream blushes offer different benefits.
Powder Blush Advantages:
- Powder blush is ideal for oily skin types, as it helps to absorb excess oil.
- It’s easy to apply and blend with a brush for a sheer, buildable color.
- Powder blush tends to stay in place longer, making it great for long wear.
Cream Blush Advantages:
- Cream blush works well for dry or mature skin, providing a hydrating touch.
- It gives a dewy, natural finish that mimics a natural flush.
- The creamy texture allows for a smooth application, blending seamlessly into the skin.
To achieve a natural look, select a blush formula based on your skin type and the finish you desire. Those with oily skin may prefer the matte finish of a powder blush. In contrast, those with dryer skin might lean towards the cream blush for its hydrating properties and radiant finish.
Remember, the key to natural blush is subtlety regardless of the formulation. Start with a small amount, build the color gradually, and blend thoroughly for the most natural effect. Both powder and cream blushes can provide a natural look when chosen and applied correctly.

Blending Tips for Flawless Natural Blush Application
Blending is key to a flawless natural blush look. Use these tips for perfect results:
- Start Light: Always begin with a light hand. You can add more if needed.
- Use the Right Tools: A soft, fluffy brush for powders and a stippling brush for creams.
- Circular Motions: Use small, circular motions to blend the blush into your skin.
- Direction Matters: Blend upwards towards the hairline for a lifting effect.
- Fingers Can Help: For cream blushes, warm it up and tap with fingers to blend.
- No Harsh Lines: Ensure no obvious lines are left. It should look like part of your skin.
- Take Your Time: Rushing can lead to mistakes. Give yourself time to blend well.
- Check Different Angles: Look in the mirror from various angles to check for any streaks.
- Lighting Check: Natural light is the best to check if everything is blended well.
By following these simple tips, you will get a seamless and natural blush application that enhances your complexion. Remember, practice makes perfect, and with time, blending will become a quick, easy part of your makeup routine.
How to Make Your Blush Last All Day: Setting Techniques and Products
For a blushing look that lasts, follow these setting techniques and product recommendations:
- Start with Primer: Apply a primer after moisturizing. It creates a smooth base for your natural blush.
- Layer Wisely: After applying cream blush, set it with a light dusting of translucent powder. This can help lock the color in place.
- Setting Spray Finish: A makeup setting spray can prevent your blush from fading. Mist it over your entire face to set your makeup.
- Touch-Up Tricks: Carry a small blush compact or stick for quick touch-ups if needed.
- Avoid Touching Face: Keep your hands off your face. This prevents smudging and helps your blush stay flawless.
By using these techniques, your natural blush can keep you looking fresh and radiant all day long. Select products designed for longevity and remember that less is often more. Adding too much product can make it look less natural and more likely to wear off.
Common Blush Mistakes to Avoid for a Natural Effect
To achieve a truly natural blush look, dodging common pitfalls is essential. Here’s how to steer clear of the most frequent blunders:
- Choosing the Wrong Shade: It’s a foundation for mishaps. Select a blush that mirrors your natural flush to avoid this.
- Over-application: Too much blush overpowers your face. Use a light touch and build color gradually.
- Misplacing Blush: Don’t apply blush too high or too low on your cheeks. Aim for the apples and blend outward.
- Ignoring Your Face Shape: Tailor blush placement to your face shape for the best effect. It creates a balanced look.
- Using Harsh Lines: Harsh, unblended lines of blush look unnatural. Always blend until it’s seamless with your skin.
- Forgetting to Tap off Excess: Always tap off excess powder from your brush to prevent a heavy application.
- Avoiding Blush with Certain Makeups: Don’t skip blush with bold eye or lip makeup. It brings life to your complexion.
- Neglecting to Clean Your Brushes: Dirty brushes can cause streaky application. Clean your tools for a smooth application.
- Skipping Prep Steps: Without moisturizing and priming, blush may not adhere well. Prepare your skin first.
By avoiding these blunders, you can ensure your natural blush application remains radiant and true-to-life throughout the day.
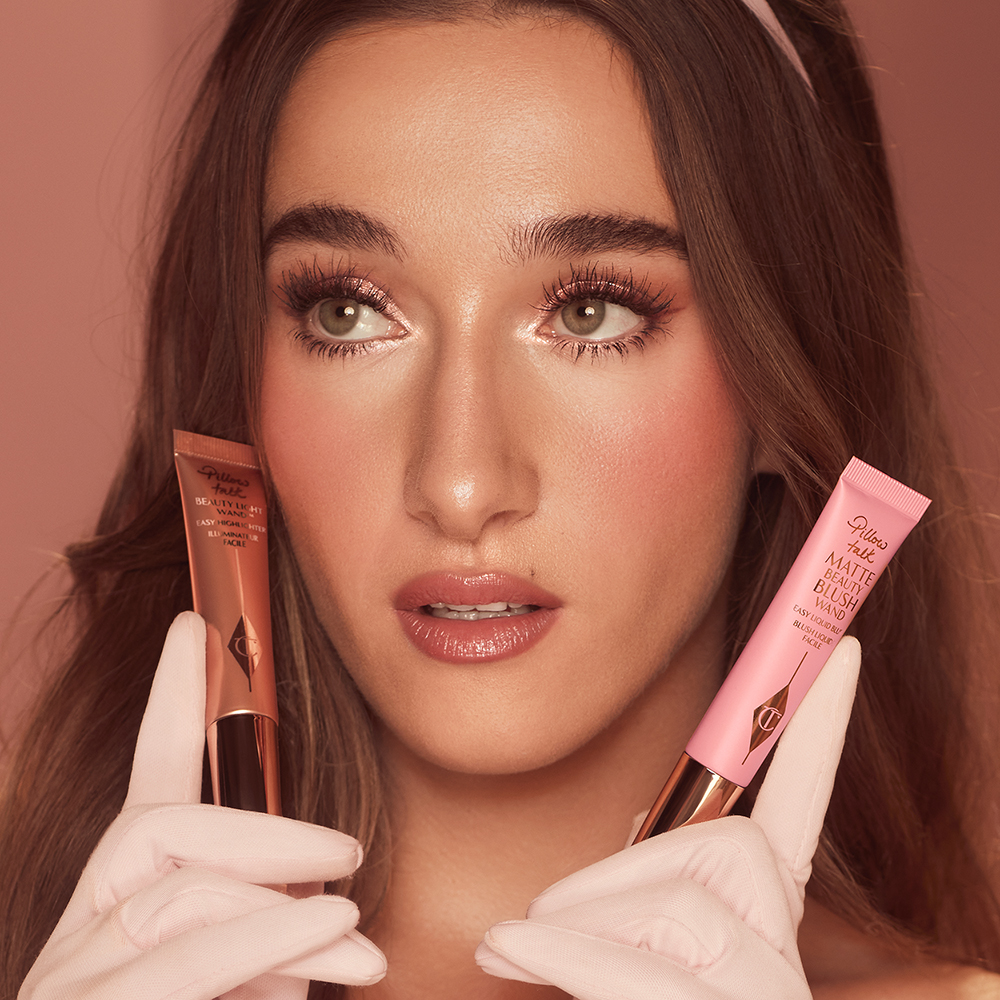
Enhancing Your Natural Blush with Complementary Products
Once you have mastered the technique for a natural blush, you can enhance it with the right products. Here are a few that pair well with your blush:
- Highlighters: Apply a bit of highlighter above your cheeks. This adds a glow and lifts your features.
- Bronzers: A light sweep of bronzer below your blush can define your cheekbones. It adds warmth too.
- Setting Powders: Translucent setting powder can set your blush. It also makes it last longer.
- Hydrating Mists: A spritz of hydrating mist keeps your skin dewy. Your blush looks fresh all day.
- Lip Tints: Choose a lip tint similar to your blush shade. It makes the whole look come together.
- Tinted Moisturizers: They create an even base for blush. They also help it blend smoothly.
- Concealers: Concealers prepare the under-eye area. They keep the focus on your blush.
Remember to go light with these products. They should support your natural blush, not overpower it. Use them to add a hint of radiance and to help your blush stand out. They can tie your makeup together for a cohesive, beautiful look.