Mastering Blush Placement for Your Face Shape
Contents
hide
The Role of Blush in Makeup
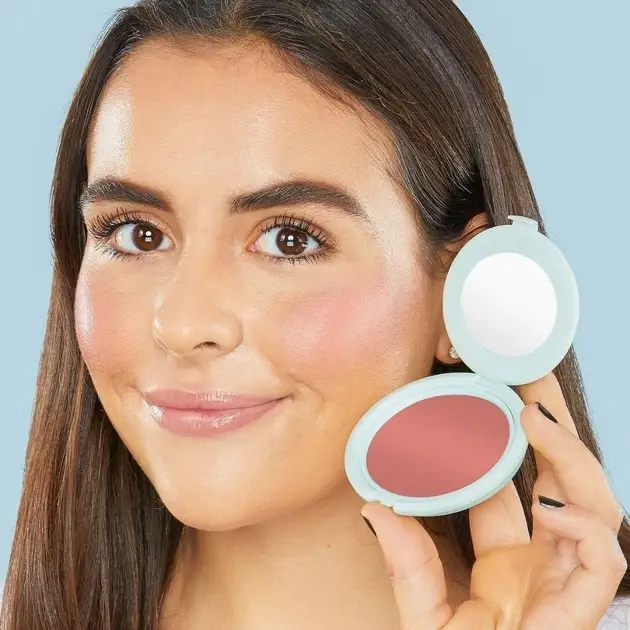
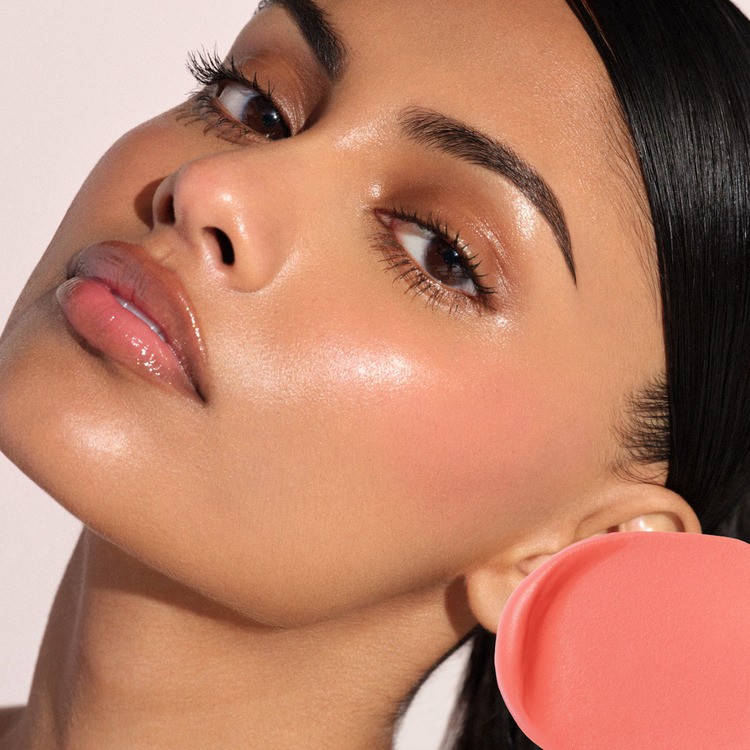
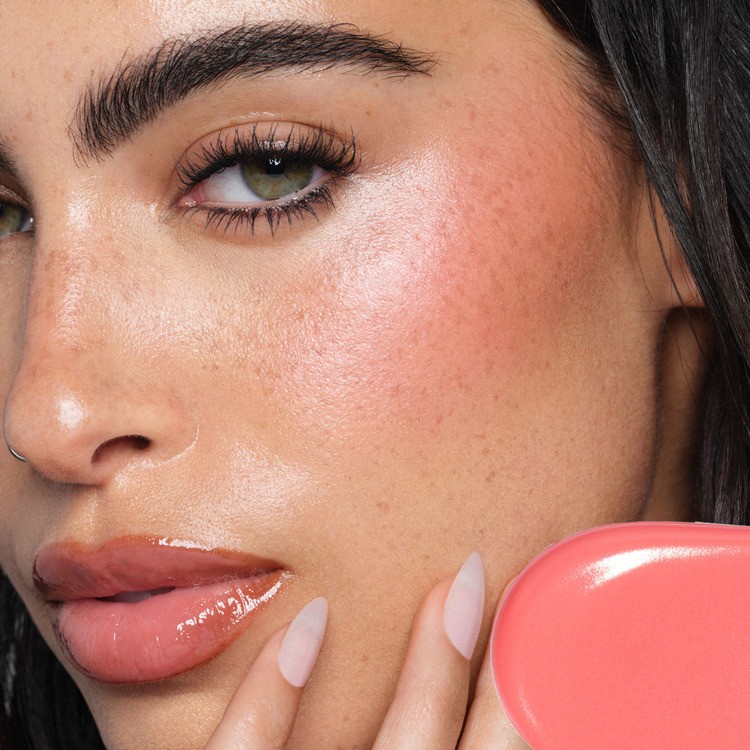
Blush is a key player in makeup. It can add a healthy glow, create depth, and define facial features. Applying blush might seem simple, but knowing where to put blush can significantly enhance your look. It’s not just about the color you choose, but where and how you apply it.
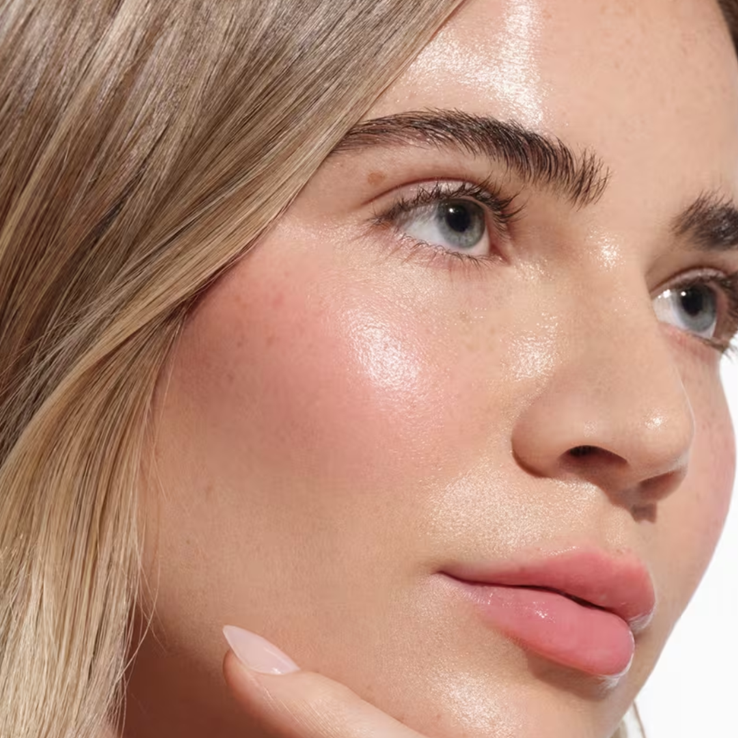
First, blush can lift your look instantly. Placed right, it draws the eye upward, giving a more youthful appearance. Blush also shapes the face without sharp lines. With the right technique, it can soften, round out, or even elongate your facial appearance.
Secondly, blush helps to emulate a natural flush. This brings a hint of life and vibrancy to the skin. That’s especially crucial in dull or washed-out lighting conditions.
Blush also plays a dual role. It can act as a subtle contour and highlighter. Light and dark blush shades can mimic shadow and light on your cheeks. This creates a illusion of more defined and sculpted facial structure.
Where to put blush varies among different face shapes. An accurate blush application respects your face’s unique contours. Placement alters whether you aim for a natural, chiseled, or soft look. Each face shape has its own set of rules for where to put blush to enhance natural beauty.
In the following sections, we’ll break down the best techniques for every face shape. From round to square to heart-shaped faces, we’ll guide you through the nuances of where to put blush. Our goal is simple: to help you master the art of blush for a flawless complexion every time.

Determining Your Face Shape
Knowing your face shape is the first step to mastering blushes placement. Different face structures require tailored application techniques to enhance natural beauty. To determine your face shape, look at key factors like the width of your forehead, cheekbones, jawline, and the length of your face. There are a few common face shapes:
- Round Face: If the width and the length of your face are roughly the same, and your jaw is softly rounded, you likely have a round face.
- Oval Face: Oval faces are longer than wide, with a jawline that’s narrower than the forehead.
- Square Face: Square faces show a strong, wide jawline and forehead with roughly the same width, creating a squared appearance.
- Heart-Shaped Face: This face shape has a wider forehead and cheekbones with a narrow, sharp chin.
- Long Face Shape: Long faces are similar to oval, but the face length is the most prominent feature, often making the face appear more elongated.
You can measure your face if you’re unsure or use a reference image to compare your face’s contour. Once you’ve identified your face shape, you can move on to learning specific techniques for blush application that will suit your unique facial structure.
Best Blush Techniques for Round Faces
When applying blushes on round faces, aim for definition and shape. Start with a smile to find the apples of your cheeks. Apply blush here, then sweep it slightly upward towards the ears and blend. This creates a lifted effect, making your cheeks look more defined.
Focus on blending as sharp edges can make the face appear rounder. Avoid placing blush too close to the nose, as this can enhance the roundness. Instead, keep it on the outer edges of the cheeks for a contouring effect.
Subtle shimmer can add depth without emphasizing width. Choose a blushes that’s not too bright. Soft peach or rose tones complement round faces well. Remember, less is more. Overdoing it can detract from the natural beauty of your face.
Lastly, consider a light dab of highlighter above where you placed the blush. This draws the eye up and adds dimension. However, be careful not to apply too much or too low on the face.
By following these steps, you create a sculpted look that celebrates the fullness of a round face without adding extra ’roundness’. Blush can indeed be a powerful tool in defining and enhancing natural beauty for those with round face shapes.
Flattering Blush Application for Oval Faces
Oval-faced individuals may find blush application quite forgiving. Their face shape is often considered the ‘ideal’, with balanced proportions. The aim here is to maintain that natural balance while enhancing features with blushes. Here are a few steps to ensure flattering blush application for those with oval face shapes.
- Start by applying blush to the cheekbones, not the apples. This emphasizes your structure subtly.
- Sweep the blushes along your cheekbones towards your temples. This enhances the face’s natural contours.
- To create a more lifted appearance, you can extend the blush slightly above the cheekbones.
- Choose shades that match your skin’s undertone. Warm undertones can opt for peachy hues, while cool undertones might prefer pink or mauve.
- Be strategic with shimmer. A touch on the highest point of the cheeks can be beautiful, but too much shimmer can overwhelm the face.
- Keep the application light and blend well. Harsh lines disrupt the oval shape’s harmony.
Remember, less is often more, especially for oval faces. A touch of well-placed blush goes a long way, ensuring a natural, radiant finish that complements the symmetrical qualities of an oval face shape.
Enhancing Square Face Structure with Blush
Applying blushes on a square face aims to soften its angles. The correct placement can add a gentle roundness to the face, creating a more balanced look. Here’s how to apply blush to enhance a square face structure:
- Start by smiling to find the apple of your cheek. This is your blush starting point.
- Sweep the blush diagonally upward, toward the hairline. This lifts the face visually.
- Focus the color on the outer part of your cheeks. This balances the face’s strong jawline.
- Blend your blush well with a brush or sponge, ensuring no harsh lines remain.
- For a more youthful look, avoid placing blush on the jawline’s corners.
- Soft rose and peach tones are ideal choices for square face shapes.
- If you like, apply a subtle highlighter to the top of your cheekbones. This adds a soft glow.
Remember, the key to a flattering blush application for square faces is blending and placement. Keep the blush away from the edges of your face to soften the overall appearance. By following these steps, you can create a harmonious and radiant look that complements the natural strength of a square face.
Applying Blush on Heart-Shaped Faces
When applying blushes on heart-shaped faces, aim to balance the face. This shape has a wider forehead and narrower chin. Correct blushes placement can create more visual harmony. Let’s go through some steps:
- Find the Apples: Start by smiling and apply blush to the apples of your cheeks. This area should not be hard to spot.
- Sweep Sideways: Gently sweep the blush toward your hairline, but stop well before reaching it. It should not extend too far.
- Keep It Light: Use a light hand for a natural-looking flush. Heavy application can overwhelm your face.
- Blend Upwards: Blend the blushes slightly upward to lift the face visually.
- Choose Soft Colors: Go for soft pinks or peachy shades that complement the natural tone of your skin.
- Avoid the Chin: Do not apply blushes near the chin area as it will draw attention to the narrowness.
- Use Highlighter: A touch of highlighter on the cheekbones can enhance the face shape.
With these techniques, you can emphasize the heart-shaped face’s unique features and create a balanced, beautiful look. Remember, the key is blending well and aiming for a subtle enhancement.

Tailoring Blush Placement for Long Face Shapes
For those with a long face shape, the right blushes placement can help create the illusion of a more proportionate face. Use these tips to enhance a long face with blush:
- Focus on Width: Apply blush on the apples of your cheeks to add width to your face.
- Horizontal Sweeps: Blend the blush outwards, in a horizontal direction, to emphasize this width.
- Skip the Length: Avoid dragging the blush upwards towards the temples which can elongate the face more.
- Color Selection: Opt for warm shades like corals or neutrals to add a healthy, vibrant flush to your skin.
- Avoid Sharp Lines: Softly blend the edges of your blush to prevent harsh lines.
- Highlighter Usage: You can apply a bit of highlighter across the cheekbone to create a reflective effect.
These techniques can help balance out the features of a long face, ensuring that your blush complements your natural face shape beautifully. Remember to blend well for a harmonious and radiant finish.
Tips for Perfecting Blush Application
Achieving a perfect blushes application is an art that enhances your face’s natural beauty. Here are some quick tips to perfect your technique:
- Light Touch: Begin with a small amount of blushes. It’s easier to add more than to take it off.
- Right Tools: Use a fluffy blushes brush for a smooth, even application.
- Blending is Key: Blend your blushes well to avoid any harsh lines or spots.
- Tap Off Excess: Always tap off excess powder from the brush to ensure a light application.
- Mirror Check: Look in the mirror from different angles to check for evenness.
- Match Lip Color: Pair your blushes with a similar lip color shade for a cohesive look.
- Layer Creams and Powders: If using cream blushes, set it with a touch of powder blush for lasting color.
- Face Powder: Apply a little face powder before blushes if you have oily skin. This helps blush last longer.
- Test in Natural Light: Natural light is the best judge. Step outside or near a window to see the true color.
Remember, practice makes perfect. Don’t be afraid to experiment with different shades and placement to find what best suits your face shape.