Face Blush Application Secrets for Flawless Cheeks
The Importance of Selecting the Right Shade
Choosing the correct shade of face blush is crucial. The right shade enhances your natural glow and complements your skin tone. Conversely, the wrong shade can make your complexion look dull or overdone. Here are key points to consider when selecting your blush shade:
- Understand Your Skin’s Undertone: Cool undertones look best with pink or berry shades. Warm undertones shine with peach or coral blushes. Neutral undertones can play with either spectrum.
- Consider the Occasion: Daytime looks often call for lighter, subtler shades, while evenings may allow for bolder choices.
- Seasonal Changes: Your skin tone can change with the seasons. Lighter shades may suit you in the winter, while summer calls for richer tones.
- Experiment: Don’t hesitate to try different shades to find the one that looks the most natural and flattering. Sometimes an unexpected shade can be surprisingly perfect.
- Age Appropriateness: As the skin ages, preferences may shift towards lighter shades that give a lift and youthful appearance without being overpowering.
Remember, the aim is to mimic the natural flush of your cheeks, which is why selecting the right shade is a step you cannot afford to overlook in your makeup routine.

Blush Types and Textures
Choosing the right blush involves more than just the shade. The type and texture of the blush are also essential to achieve a flawless finish. Here are the various blush types and textures you should know about:
- Powder Blush: This is the most common type of blush. It’s perfect for all skin types, especially oily skin. Powder blushes give a matte finish and are easy to apply and blend.
- Cream Blush: Cream blushes work well for dry or aging skin as they provide a dewy, moisturizing effect. They offer a more natural look and are great for building color intensity.
- Gel Blush: Gel blushes give a sheer tint and feel lightweight on the skin. They are ideal for normal to oily skin and create a look that is fresh and subtle.
- Liquid Blush: These blushes are highly pigmented and offer long-lasting color. They can be blended easily for a soft look or layered for more intensity. Suitable for all skin types.
- Tint Blush: Tint blushes stain the skin for a longer-lasting color. They can be a bit tricky to work with because they need to be blended quickly before drying.
- Shimmer Blush: Shimmer blushes contain light-reflecting particles. They are best for highlighting cheekbones and are suitable for night-time looks or special occasions.
- Mineral Blush: Made from natural minerals, these blushes are great for sensitive skin. They provide a luminous glow without clogging pores.
When you select a blush, consider your skin type and the final look you want to achieve. A well-chosen blush type and texture will enhance your makeup and ensure a radiant complexion. Keep the keyword ‘blush’ in mind as you explore these options to find the perfect fit for your beauty routine.
Essential Tools for Blush Application
To achieve a stunning blush effect, you need the right tools. Here’s what to have in your kit:
- Blush Brush: An angled blush brush allows precise application and effortless blending.
- Beauty Sponge: A damp beauty sponge gives a natural finish to cream and liquid blushes.
- Makeup Brush Set: Invest in a quality set for applying different blush types and textures.
- Handheld Mirror: Use a mirror with good lighting to ensure even application.
Choosing quality tools for blush is as crucial as the shade and type. A good blush brush is essential. It should have soft, dense bristles to pick up the right amount of product. An angled shape helps it fit the contours of your cheeks. Synthetic brushes are great for cream and liquid blushes, while natural bristles are ideal for powders.
Beauty sponges are versatile. Use them for blending cream and liquid blushes into the skin. They mimic a natural, skin-like texture when dampened.
A complete makeup brush set allows for versatility. It’s not just for blush but also for applying contour and highlight. Look for a set that includes different sizes to work with all areas of the face.
Never underestimate the power of good lighting. A handheld mirror can be your best ally in applying blush precisely. It helps you to see how the blush looks in different lights. Plus, portable mirrors are especially handy for touch-ups on the go.
Good tools are an investment that elevates your blush application, helping you achieve flawless cheeks with confidence. Use ‘blush’ in a search to find high-quality tools and make a difference in your makeup routine.

Step-by-Step Guide to Applying Blush
Applying blush can enhance your features and give your face a healthy glow. Follow this easy guide for perfect blush application every time.
- Step 1: Start with a Clean Base: Before applying blush, ensure your face is clean and moisturized. Apply foundation if you use it.
- Step 2: Pick the Right Brush: Use an angled blush brush for precise application. Make sure the brush is clean.
- Step 3: Smile and Locate Apples of Cheeks: Smile in the mirror. The rounded parts that pop up are the apples of your cheeks.
- Step 4: Load Brush with Blush: Swirl your brush in the blush. Tap off excess to avoid too much product.
- Step 5: Apply to Apples of Cheeks: Gently sweep the blush over the apples of your cheeks. Use light, upward strokes.
- Step 6: Blend, Blend, Blend: Softly blend the blush into your skin for a natural look. No harsh lines should show.
- Step 7: Build Color as Needed: Add more blush if you want more color. Go slowly. It’s easier to add than to remove.
- Step 8: Check and Adjust: Look in the mirror again. Make sure both cheeks match and you like the intensity.
- Step 9: Set Your Blush: If you desire, lightly dust setting powder over your cheeks. This can make your blush last longer.
Remember, practice makes perfect. Don’t worry if it takes a few tries to get it right. With these steps, your blush will look seamless and natural every time you apply it.
Common Blush Application Mistakes to Avoid
To achieve flawless cheeks, avoiding these common blush application mistakes is key. Keep your blush game strong with these tips:
- Choosing the Wrong Shade: Matching blush to your skin’s undertone is crucial. Avoid shades that are too dark or too light.
- Applying Too Much Product: Start with a small amount. You can always add more if needed, but too much blush can be hard to tone down.
- Using the Wrong Brush: An angled blush brush works best. Avoid large, fluffy brushes that can disperse too much product.
- Ignoring Your Face Shape: Blush should flatter your face. Don’t apply it in the wrong area for your face shape.
- Blush Streaks: Ensure you blend thoroughly. Harsh lines make your blush look unnatural.
- Not Setting Your Makeup: Without setting powder, blush might fade or smear. A light dust can help it stay put.
- Applying on Unprepared Skin: Blush clings to dry, flaky skin. Moisturize first for a smooth application.
- Skipping Blush Altogether: Even a hint of color can warm up your complexion. Don’t skip this step in your routine.
By steering clear of these pitfalls, your blush will complement your features and last throughout the day. Remember, practice is essential. Stay patient and adjust your technique as needed for that perfect pop of color.
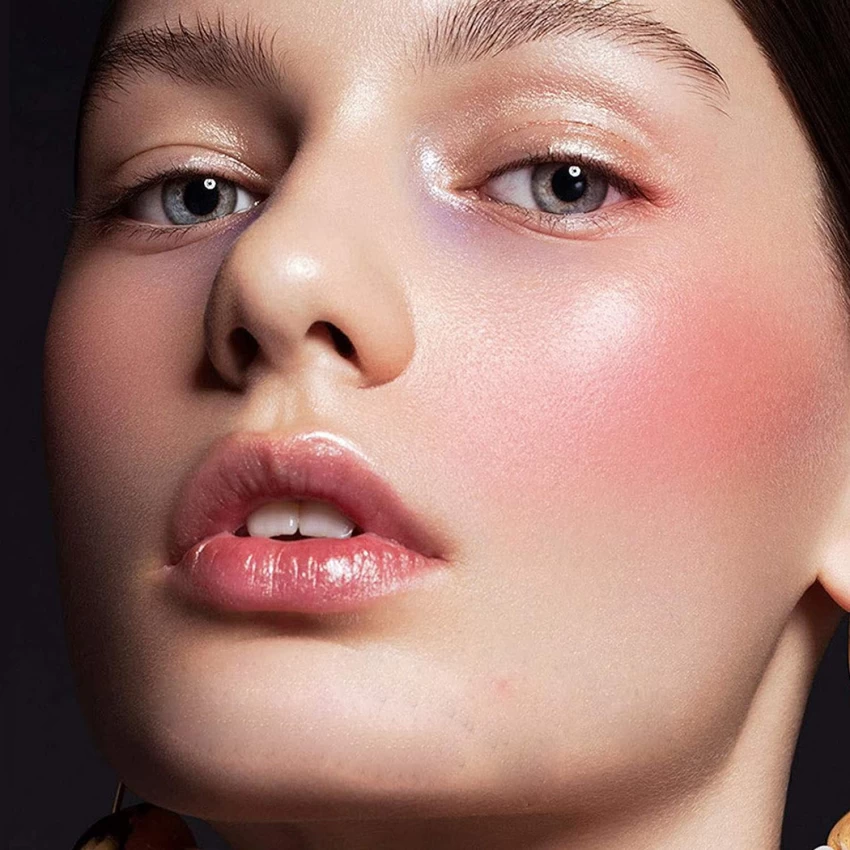
Blush Application Tips for Different Face Shapes
Applying blush correctly can provide a lifting effect and enhance your face shape. For different face structures, blush application varies:
- Oval Faces: Dust blush on the cheekbones and blend towards the ears.
- Round Faces: Apply blush to the cheeks’ highest points and sweep out to the temples to elongate.
- Heart-Shaped Faces: Place blush below the apples of the cheeks and blend outwards.
- Square Faces: Soften angles by applying blush on the apples of the cheeks and blend towards the corners of the jaw.
- Long Faces: Apply at the apples and extend the blush horizontally towards the ears to create width.
- Diamond Faces: Focus blush on the top part of the cheeks and blend outwards, avoiding the center.
It’s crucial to consider your face’s unique features when applying blush. Use light strokes and build up as needed. Make sure to blend well for a seamless look. These tips will help you accentuate your bone structure and achieve a flattering blush application for any face shape. Keep practicing and remember to match your blush choice with the rest of your makeup look.
How to Make Your Blush Last All Day
Applying blush is one thing, but ensuring it stays put all day requires additional steps. To lock in that perfect flush of color from morning till night, here are some simple longevity tips:
- Use a Primer: Begin with a makeup primer. This provides a smooth base and helps blush adhere better.
- Layer Your Blush: Start with a cream blush, then set it with a powder blush on top. The double layer works to keep your blush in place longer.
- Blot Excess Oil: If you have oily skin, use blotting papers to absorb oil without smudging your blush.
- Apply Setting Powder: A translucent setting powder can set your makeup and prevent your blush from fading.
- Touch-Up Wisely: Keep a compact blush in your bag for quick touch-ups if needed.
- Avoid Touching Your Face: Keep hands off your face to prevent smearing or removing your blush.
With these strategies, your blush will have maximum staying power. Remember, the key to long-lasting blush is as much in the preparation as it is in the application. Regular retouches and a hands-off approach also go a long way in preserving your vibrant cheeks.
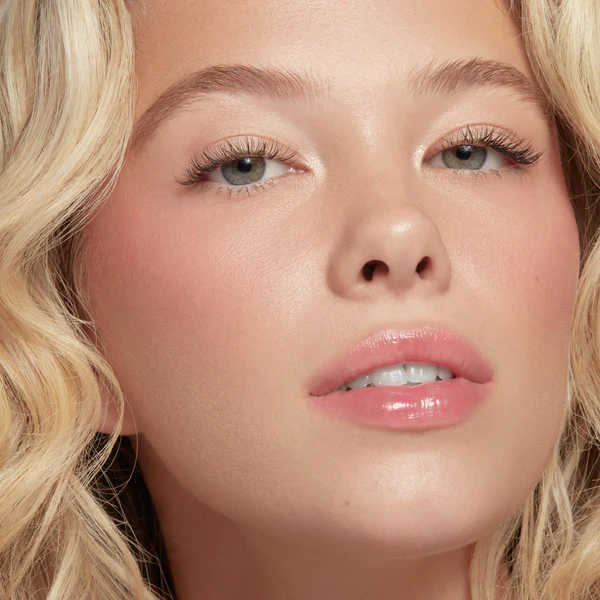
The Role of Blush in Contouring and Highlighting
Blush plays a vital role in defining your face through contouring and highlighting. Proper use of blush can accentuate your cheekbones, create depth, and add a healthy warmth. Here’s how to incorporate blush into your contouring and highlighting routine for a sculpted and radiant look:
- For Contouring: Choose a blush shade slightly darker than your skin tone. Apply it below the cheekbones. Blend it well to avoid harsh lines. This technique creates shadows that enhance your natural bone structure.
- To Highlight: Pick a blush with a shimmer or a lighter hue. Apply it above the cheeks and on the brow bones. This step brings light to these areas, making them stand out.
By combining these methods, blush can be a powerful tool in your makeup arsenal. It helps in defining your face, giving you a polished and complete look. Use ‘blush’ as your keyword to find products that suit contouring and highlighting needs. With practice and the right products, your blush will not only add color but also define and emphasize your best features.
