How to Apply Tinted Moisturizer
Contents
hide
The Proper Way to Apply Tinted Moisturizer
Tinted moisturizer provides an effortless way to achieve a fresh, natural makeup look. This multitasking formula combines hydrating skincare benefits with sheer, flexible complexion tint. However, applying tinted moisturizer requires some specific techniques to really allow it to shine. How to apply tinted moisturizer?Follow these essential tips for smooth, radiant, and long-lasting tinted moisturizer application.
Start with a Prepped Canvas
How to apply tinted moisturizer?Before reaching for the tinted moisturizer, prepare skin properly first. Cleanse to remove any oil, makeup, or impurity residue from the surface. This allows the tinted formula to absorb evenly without pilling up.
Next, treat any areas of concern like blemishes or dark circles by applying targeted skincare first. Dab on a color-correcting treatment product before layering tinted moisturizer on top. This provides a perfected base for the sheer tint to smooth over.
Moisturize Prior for Longevity
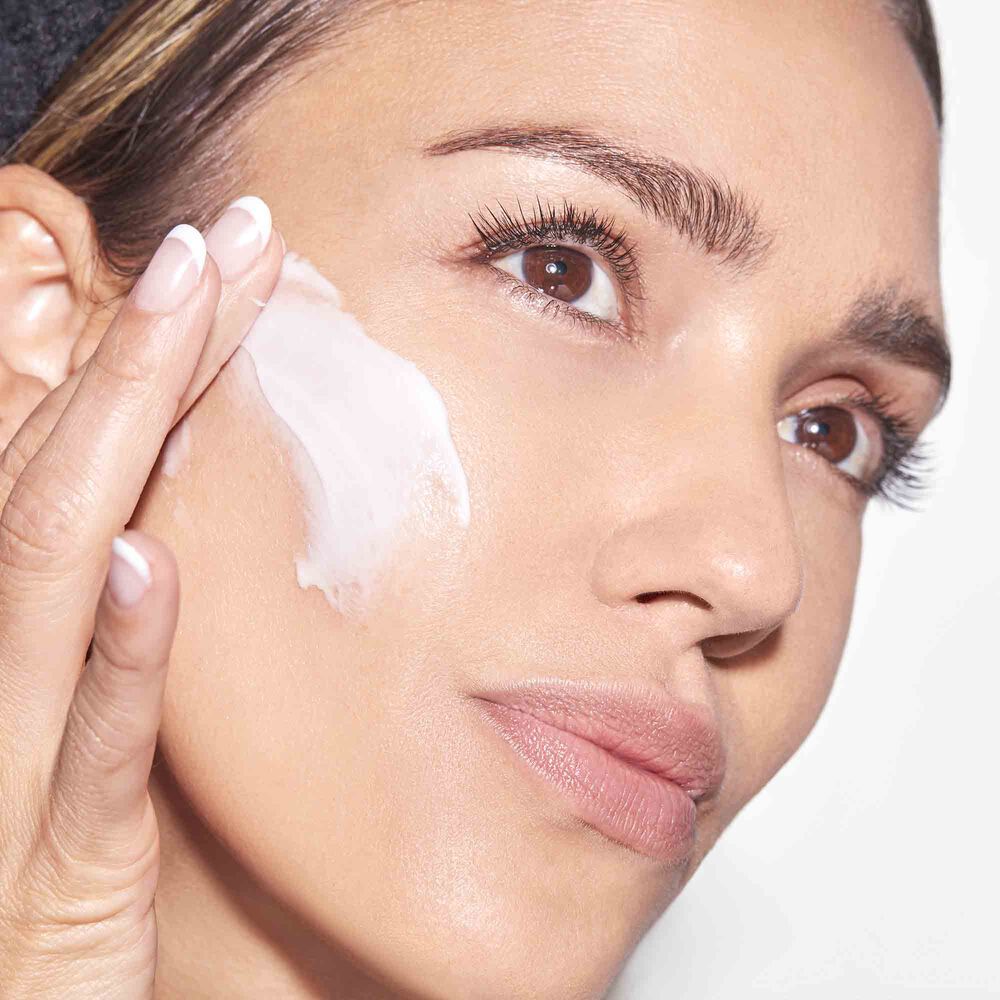
While tinted moisturizers do provide hydration, experts recommend applying a separate dedicated moisturizer underneath first. This step creates the perfect smooth, supple canvas for the tinted formula. It allows the sheer pigments to blend seamlessly into skin without gathering or caking.
Let the moisturizer fully absorb before moving on to the tinted formula. For very dry complexions, seal in the moisturizer with a facial oil too. This extra moisture-binding step boosts the tinted moisturizer’s radiance and wear time.
Warm the Tinted Moisturizer
How to apply tinted moisturizer?Avoid applying the tint formula straight out of the bottle while it’s still cold and stiff. It won’t disperse evenly across skin that way. Instead, warm up a pea-sized amount of product between your fingertips first. This emulsifies the moisturizer and loosens the pigments for smoother blending.
You can also warm the formula with a few drops of hydrating facial essence or oil. This thins out the texture slightly, allowing the pigments to blend in effortlessly.
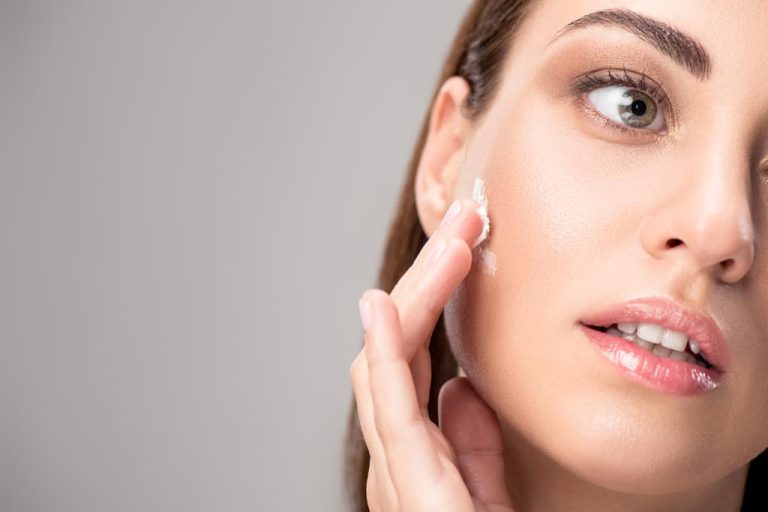
Apply With the Right Tools
Fingers make the ideal applicator for sheer fluid tinted moisturizers. The warmth helps emulsify the formula while the gentle pressing motion blurs the pigments seamlessly into the complexion.
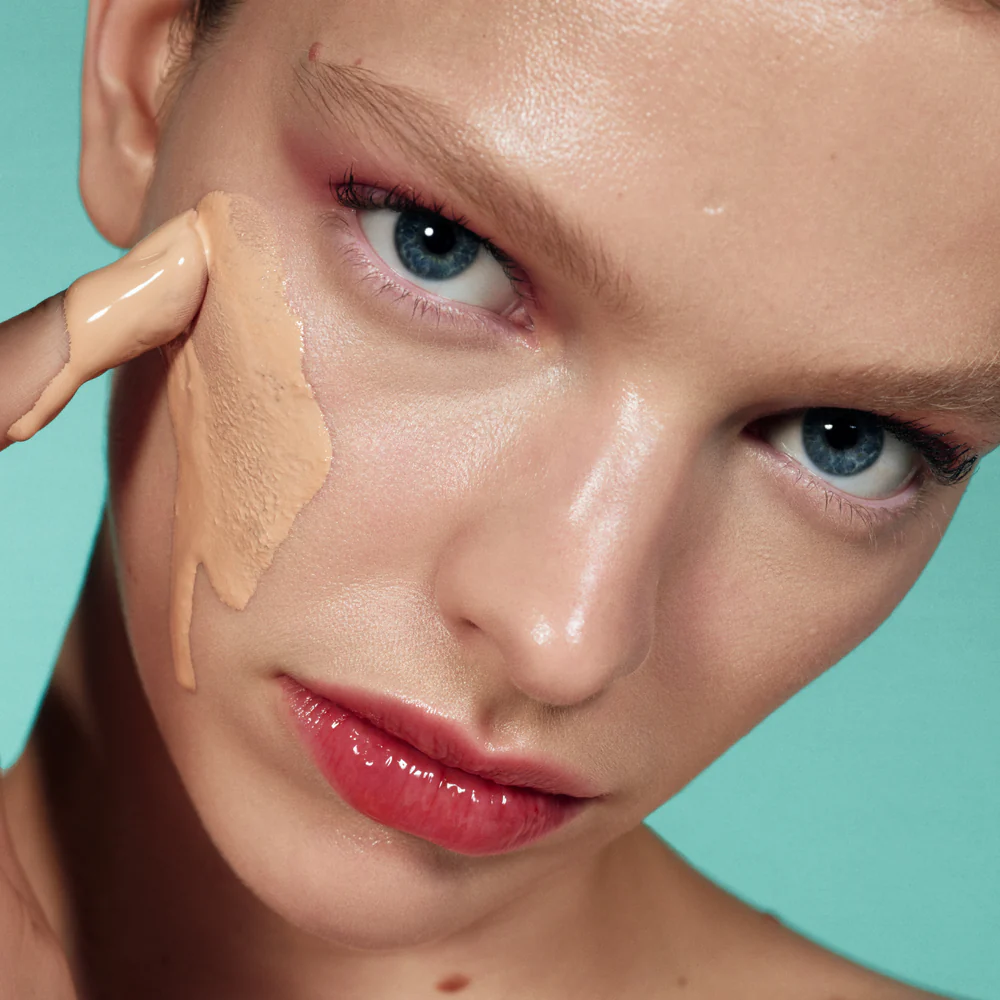
For fuller coverage, utilize a damp makeup sponge or densely packed foundation brush first. These allow you to stipple and layer the tinted formula to build more concentrated tint on areas that require it.
Build Coverage as Needed
Speaking of coverage level, tinted moisturizers remain extremely versatile. Apply a single thin veil blended across the entire face for a lightweight filtered effect. Or focus and layer extra tint strategically over areas of discoloration, hyperpigmentation, or redness for moderate evening out.
No matter the coverage, always work swiftly and blend thoroughly to avoid detectable edges. The goal is a natural undetectable gradation instead of any visible harsh lines of demarcation.
Perfect With Light Powders
Set the blended tinted moisturizer for enhanced longevity with a light dusting of finely-milled powder. Look for sheer translucent powders designed specifically for setting liquid makeup. These powders diffuse shine and blur the complexion while still allowing the skin’s natural radiance to peek through.
Use a puff or powder brush to gently press the powder all over in a rolling motion. This meshes the powder seamlessly into the tinted moisturizer without disrupting the pigment distribution. The powder prolongs the fresh dewy finish while absorbing excess surface moisture.
Concentrate on Discolorations
While tinted moisturizer can provide overall evening out, it truly excels at addressing specific areas of concern. Focus extra layers on any dark circles, acne marks, redness zones, or hyperpigmentation for the most seamless targeted coverage.
Warm an extra dab of tinted formula between fingers. Then gently press and stipple the higher concentration pigments directly over the area in need. This camouflages issues while maintaining the fresh diffused finish.
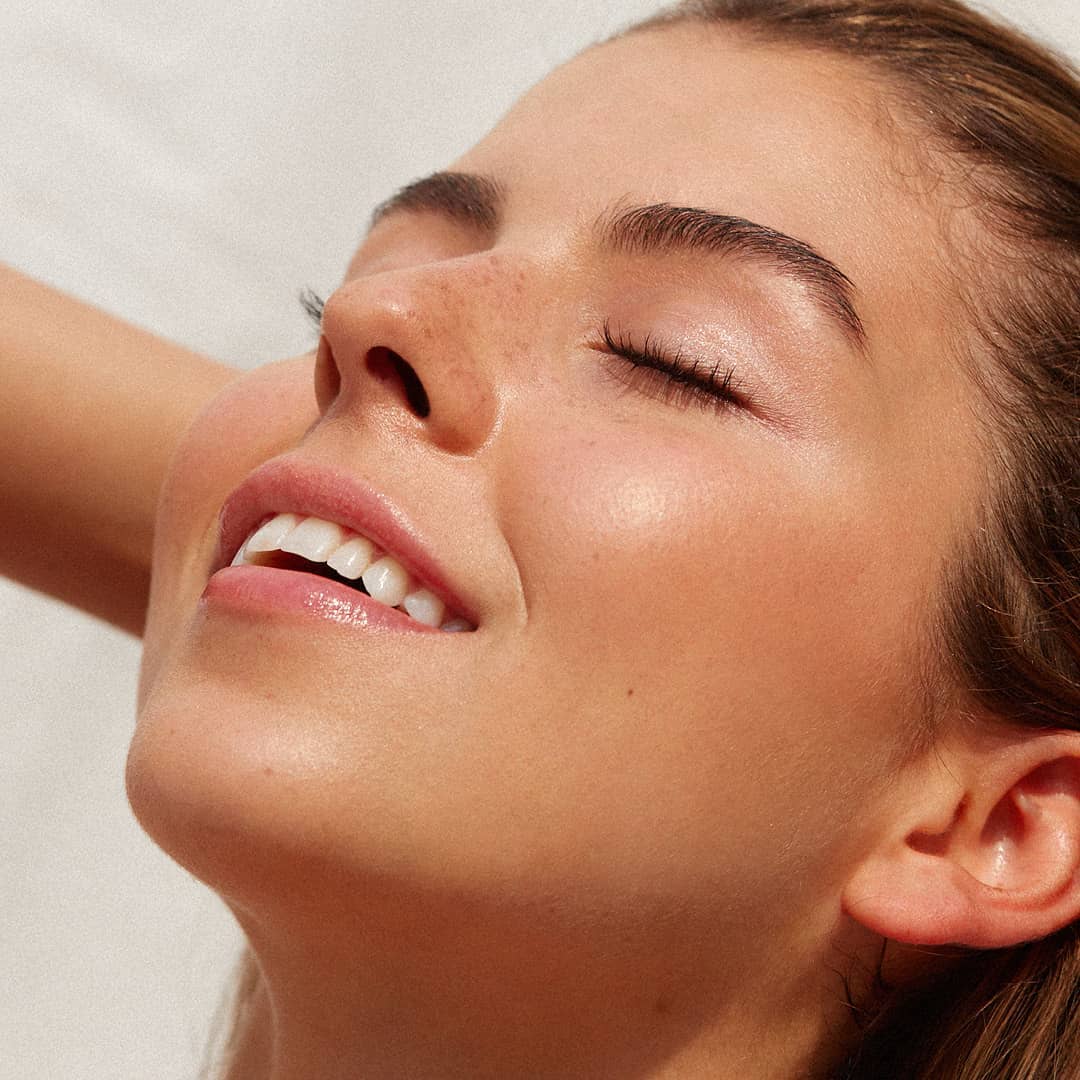
Add Luminizers for a Glow
Enhance a lit-from-within radiant glow by layering luminizing accents. First, perfect the tinted moisturizer application everywhere before adding luminizers. Then dab or stipple a pearly liquid or cream highlighter to emphasize the high points of the face.
Focus the illumination on cheekbones, the cupid’s bow, browbones, and down the center of the nose and forehead. This strategic placement creates beautiful well-rested dimension over the tinted smoothed base.

Finish With a Setting Spray
A hydrating makeup setting spray makes the perfect final step for locking in the fresh luminous finish. Mist a light veil over the entire blended complexion to fuse all layers together. This reactivates and melds the tint, powder, and any other makeup for uniform long-lasting wear.
Setting sprays revive the just-applied dewy vibrancy of the tinted moisturizer too. They prevent fading, creasing, or excessive shine from diminishing the flawless finished look over time. The end result stays fresh, smooth, and radiant for hours.
Take Skin Type into Account
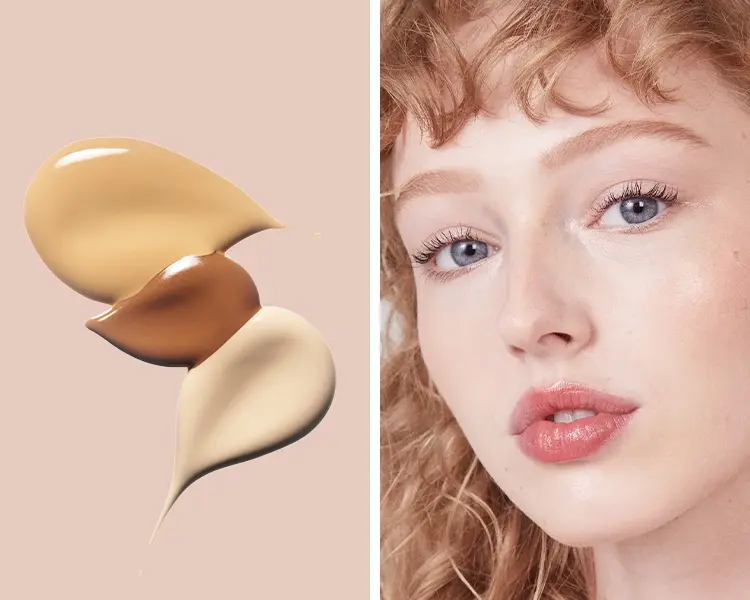
The ideal tinted moisturizer consistency differs depending on the individual’s skin type. Drier complexions often prefer richer cream tints with heavier emollients for extra nourishment. While shinier skin gravitates toward lightweight liquid or whipped gel tints.
Match the formula weight to your skin’s hydration needs to achieve the perfect luminous yet smoothed finish. Applying a tinted formula not matched to your skin type can appear uneven or overly matte (dry skin) or greasy (oily skin).
Apply With Care for Clean Finishes
While fingers provide the ideal warmth and blendability for tinted moisture application, they also pose a messiness risk. The pigments can easily transfer and create stained cuticles or palms. Make makeup removal easier by using a damp beauty sponge or brush for applying tint around the hairline and jaw areas.
Gently dab and stipple the product on precisely with tools in these delicate zones. This provides clean polished edges while preventing stray tint stains on the face perimeter. Smooth application and blending equals a sharp seamless finish.
With the right tools and techniques, tinted moisturizer achieves an incredibly fresh natural complexion look. Its sheer buildable pigments deliver customizable coverage tailored to your needs. Layered properly, tinted moisturizer appears seamless yet healthy and luminous on the skin. It’s an effortless way to embrace your natural beauty while enhancing your best features at the same time.